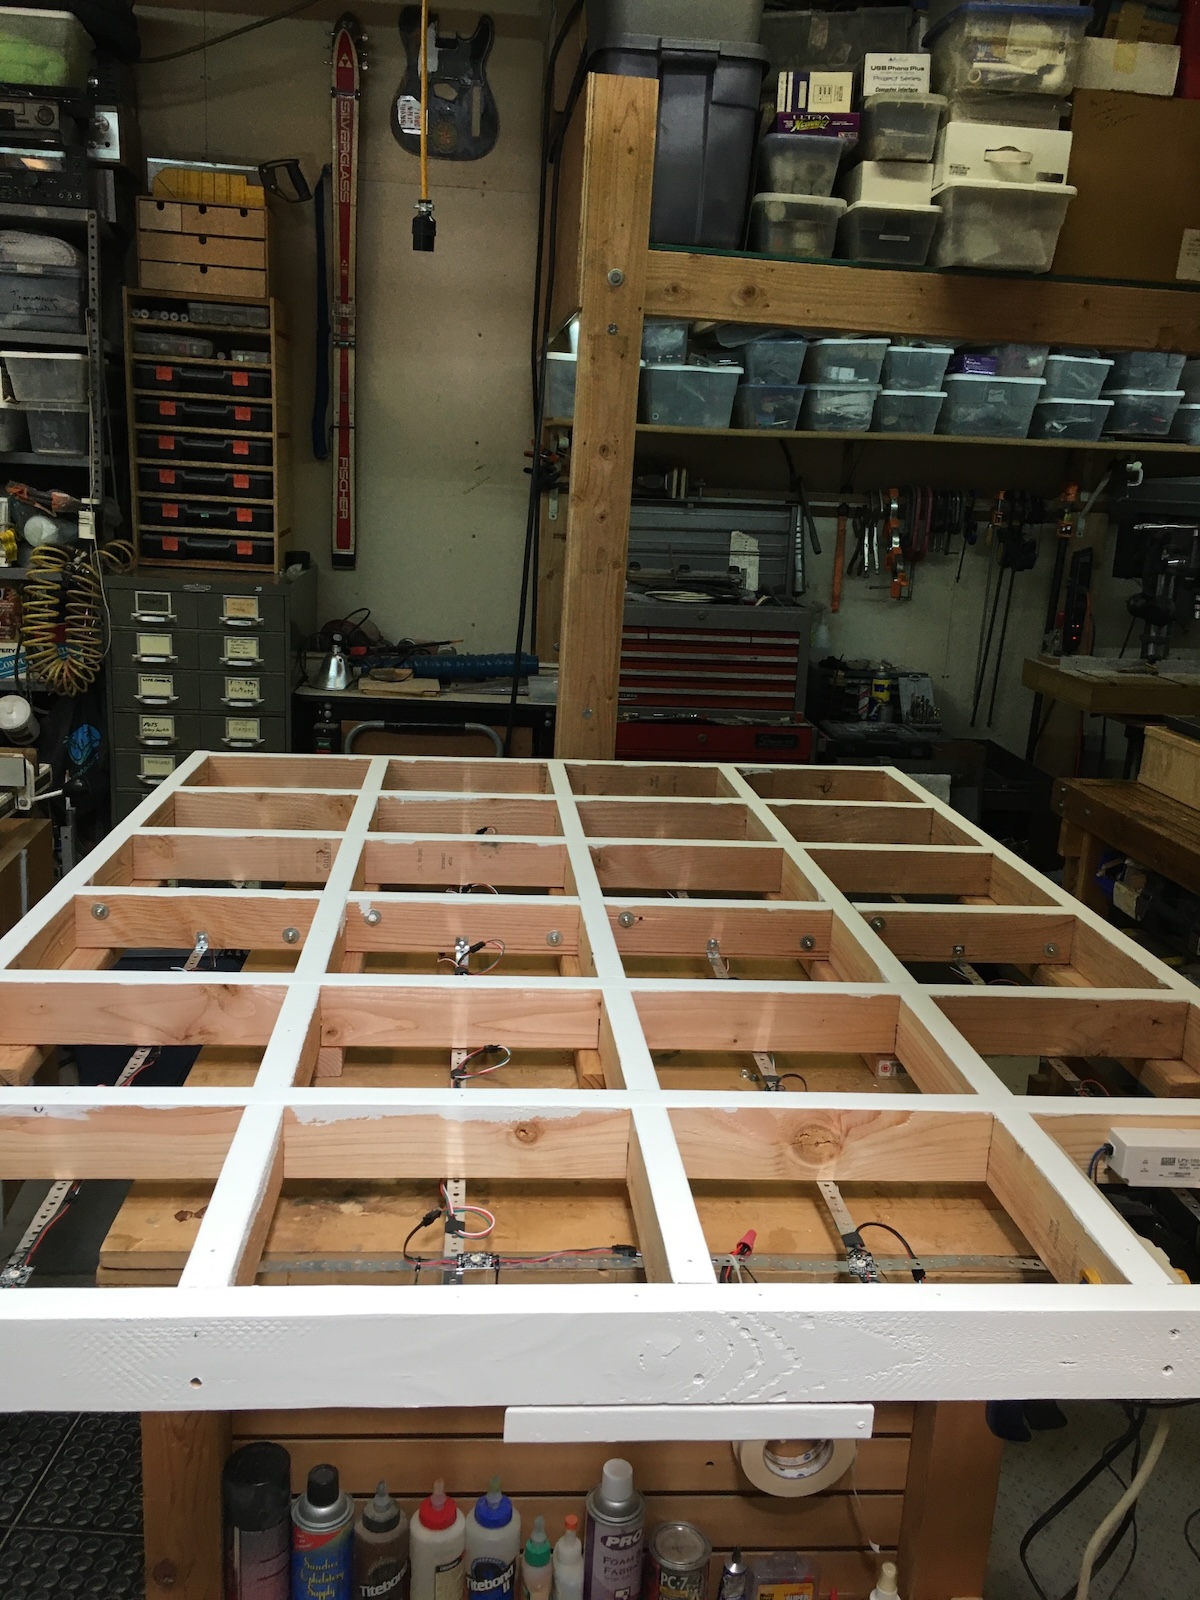
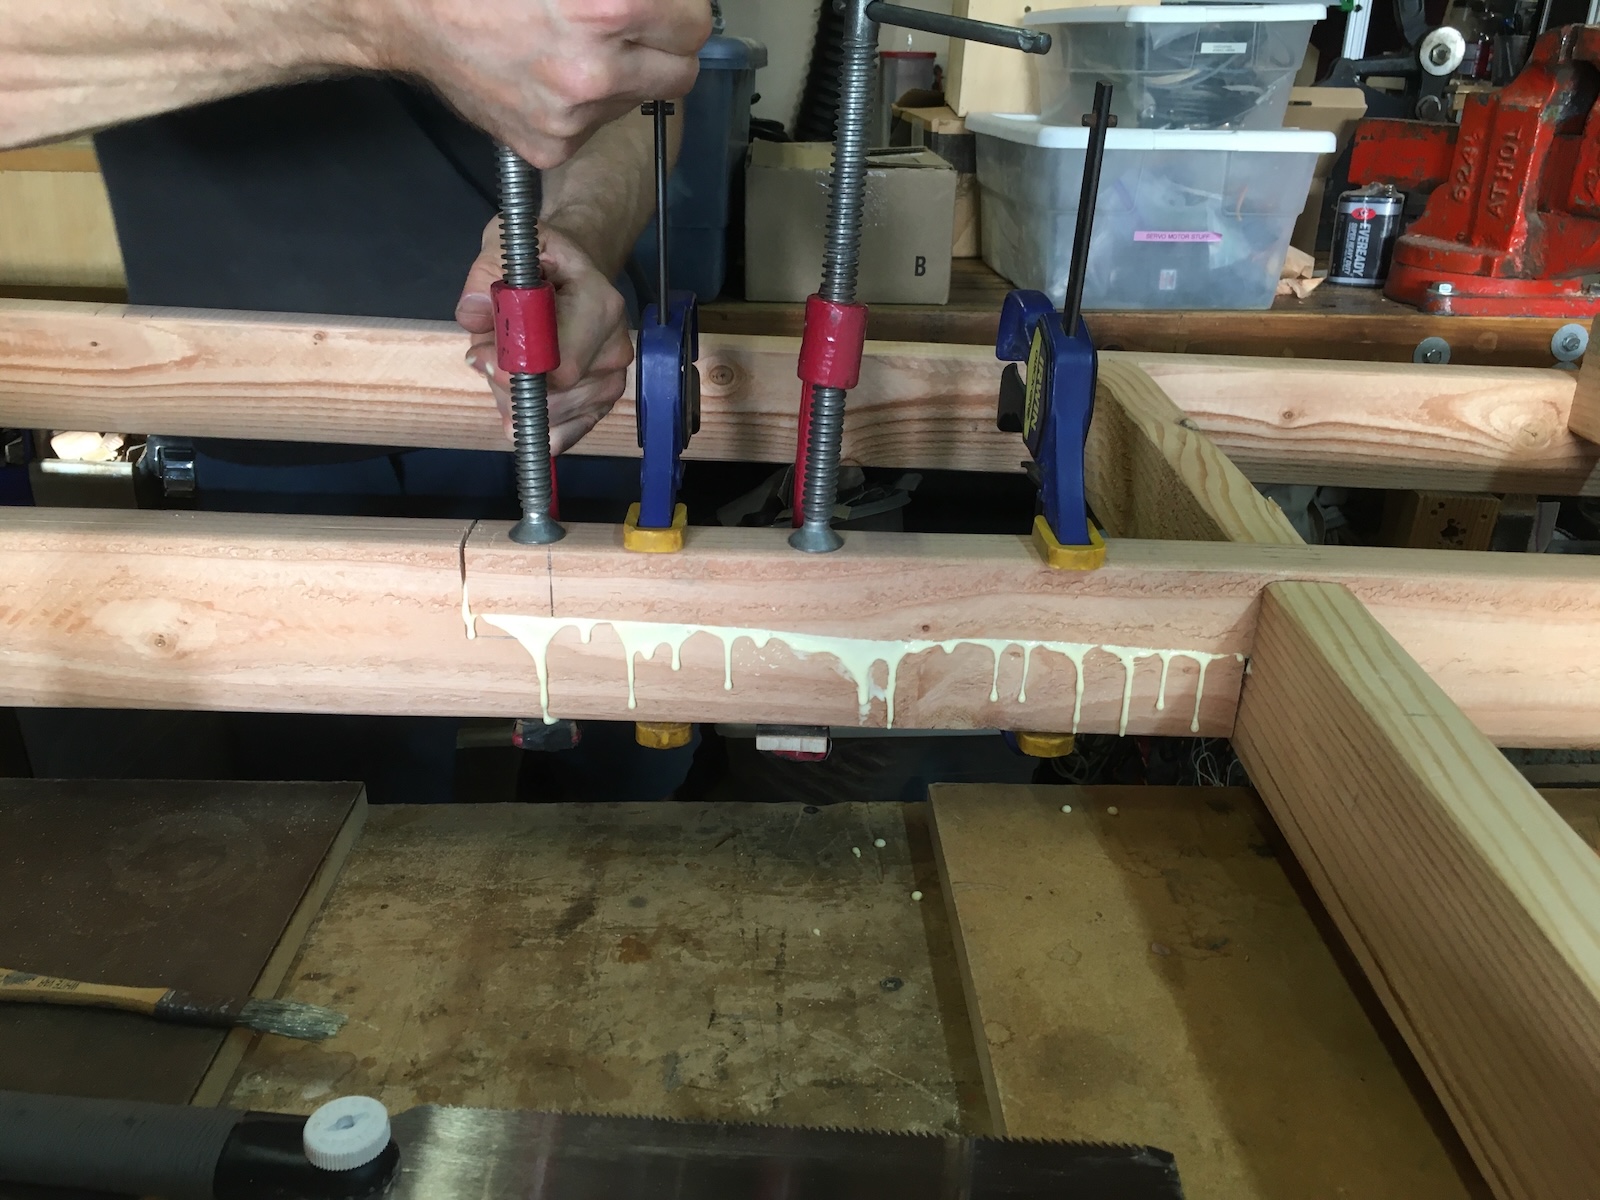
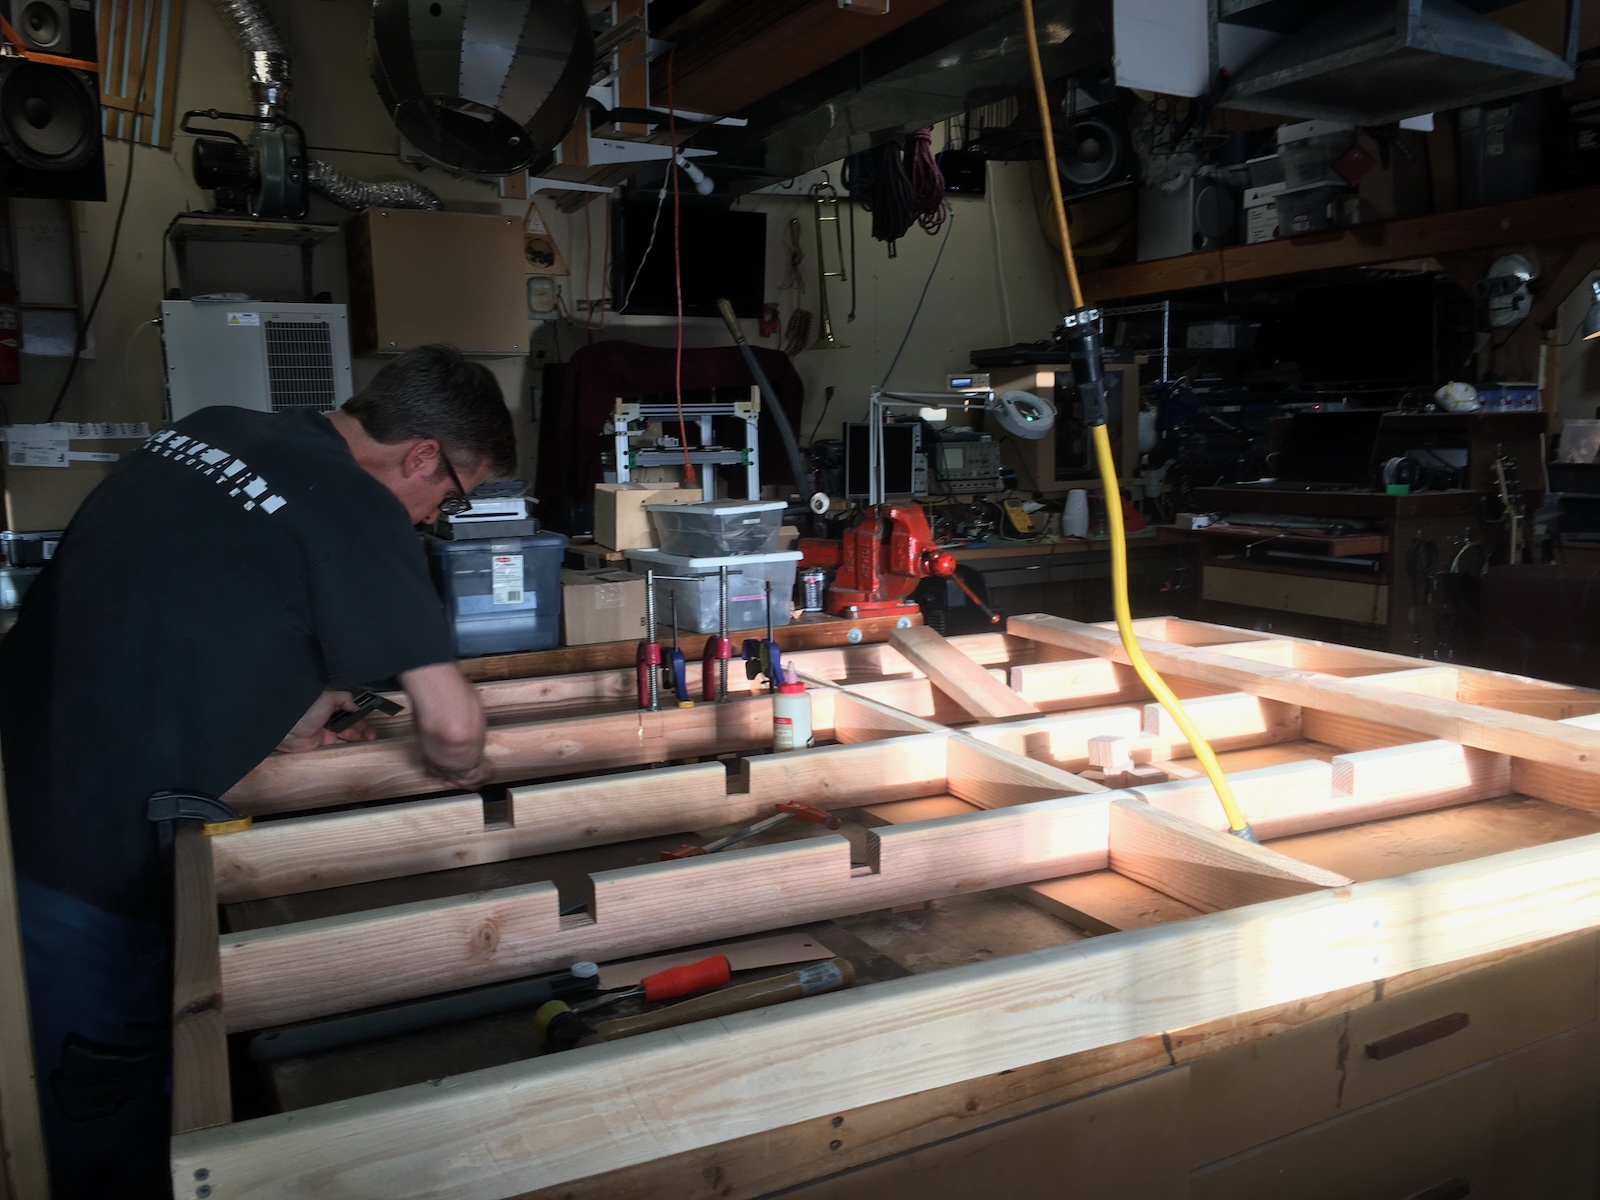
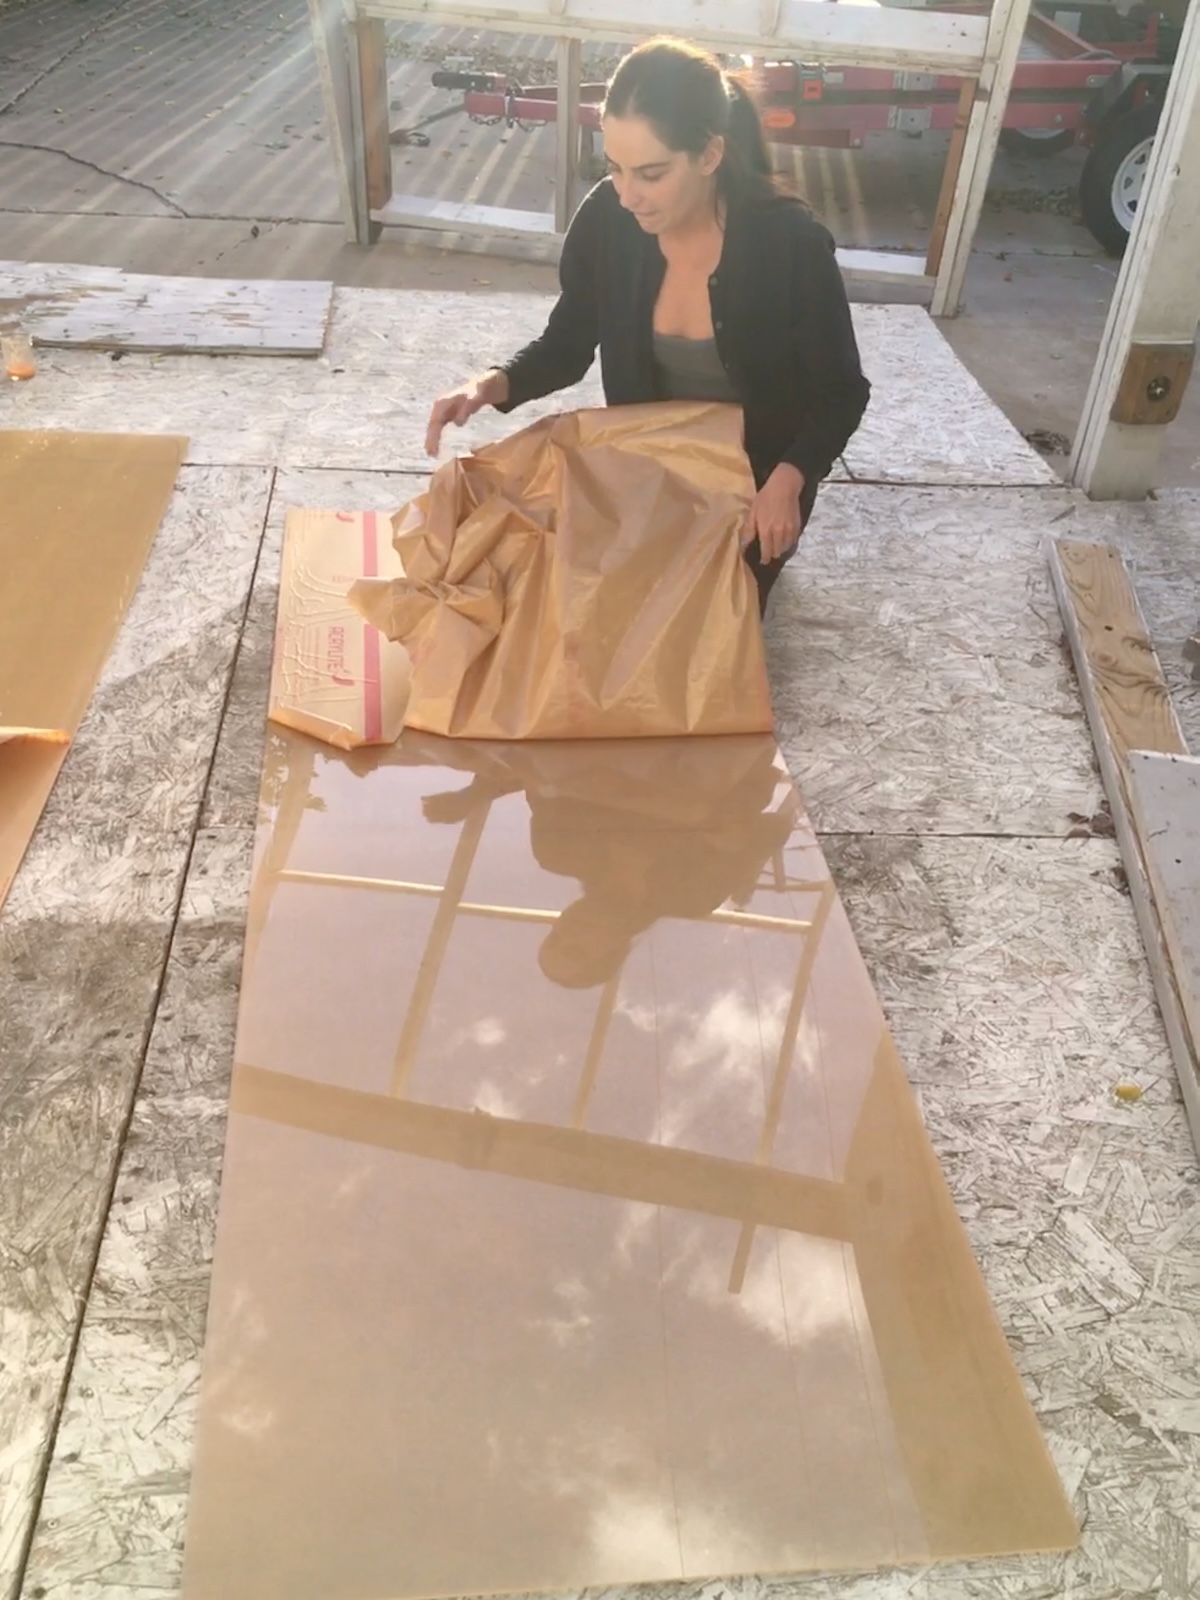
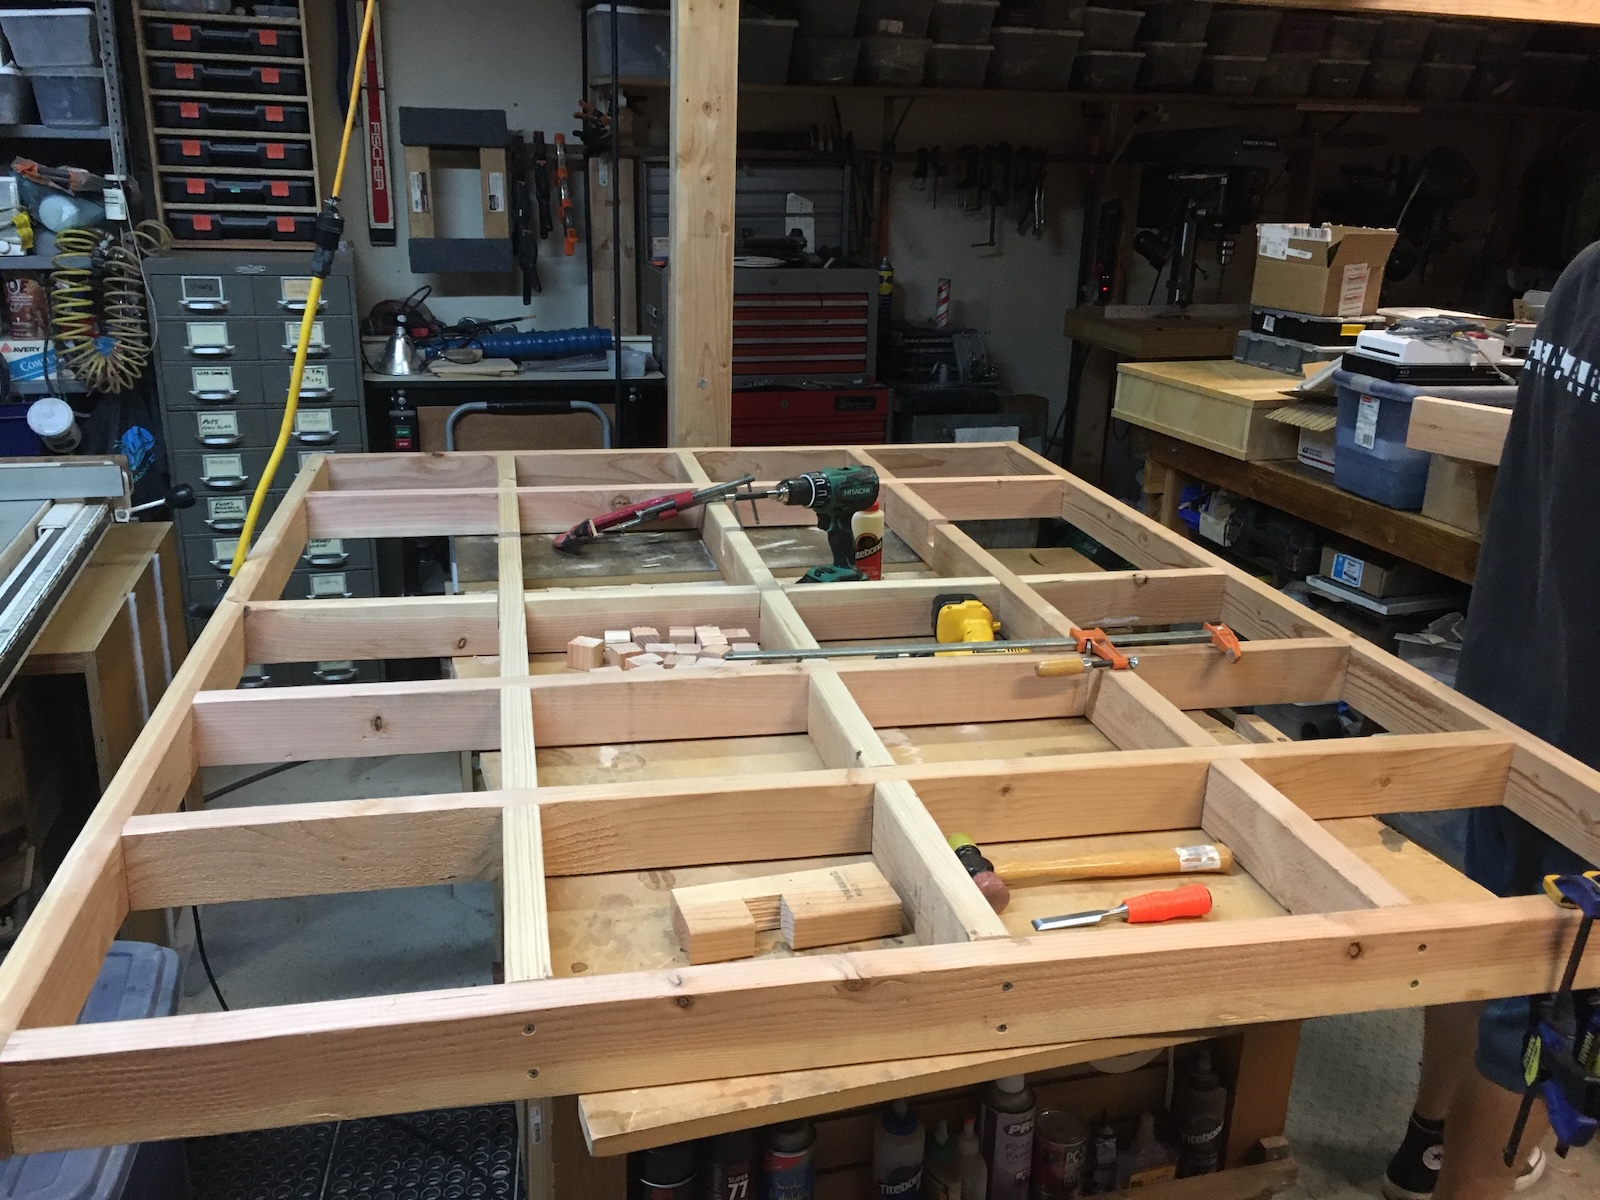
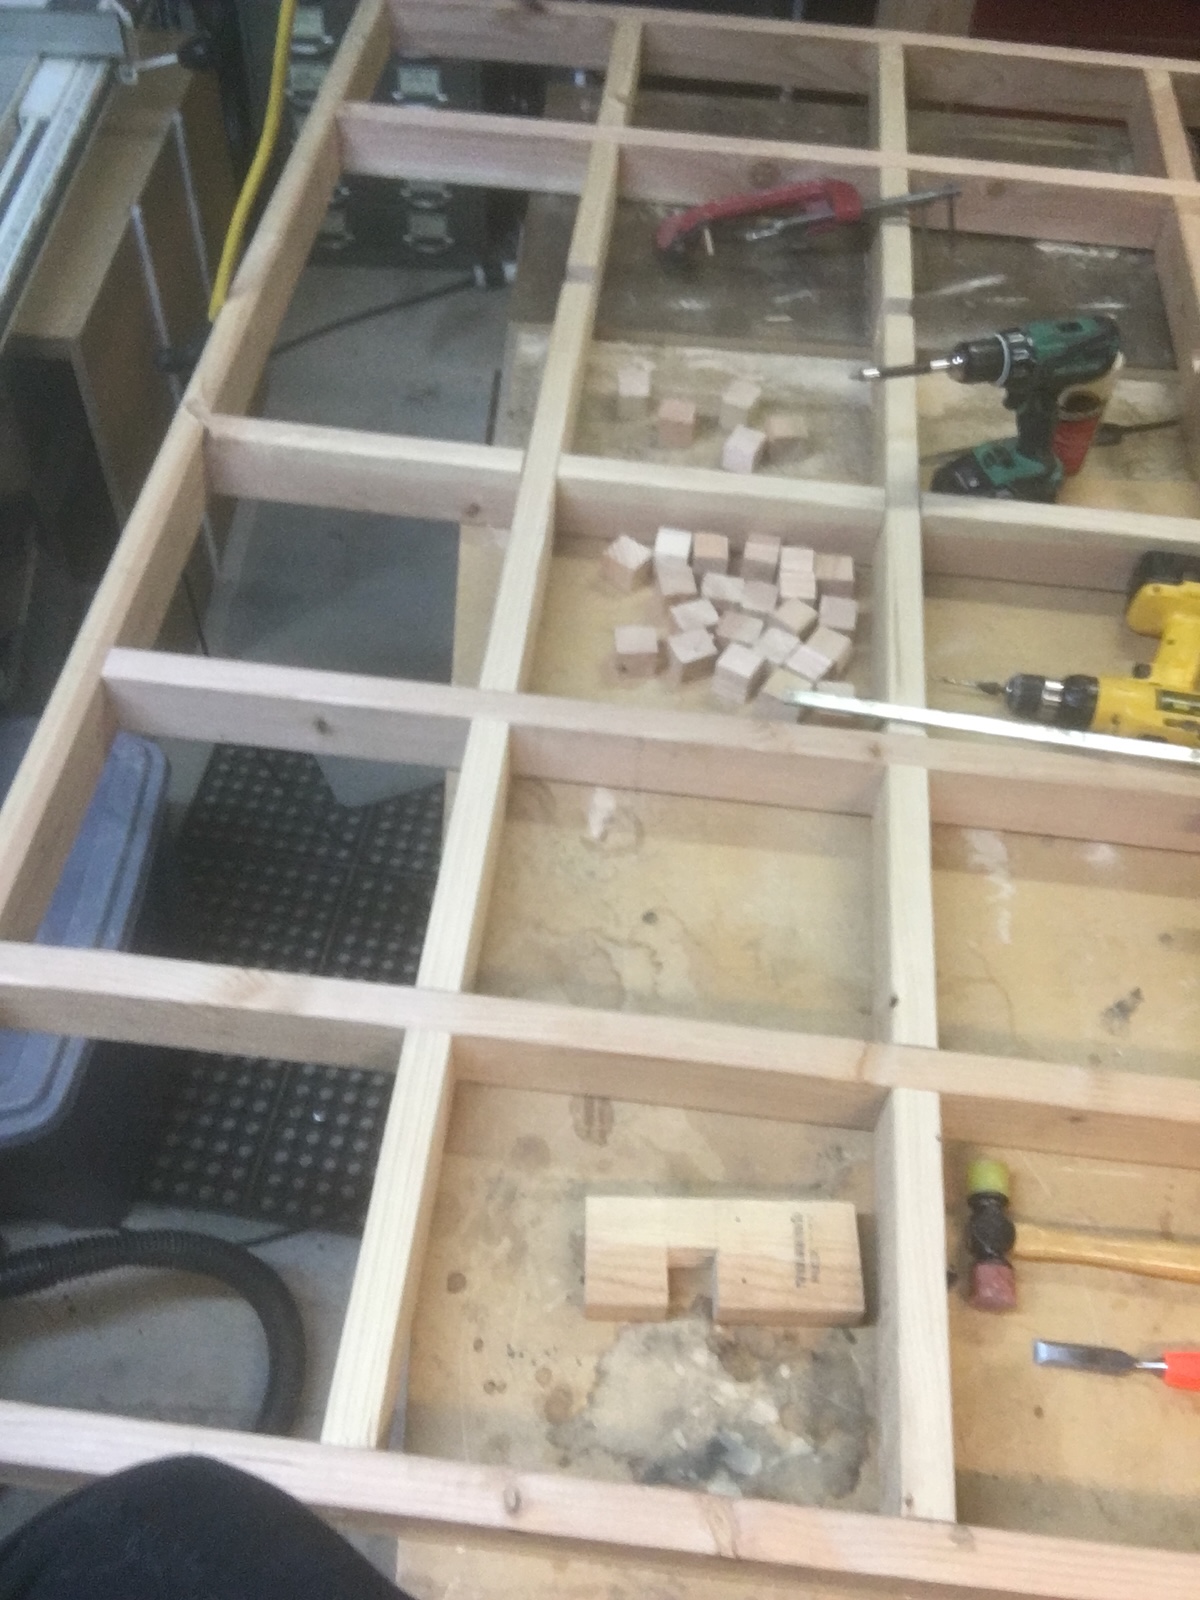
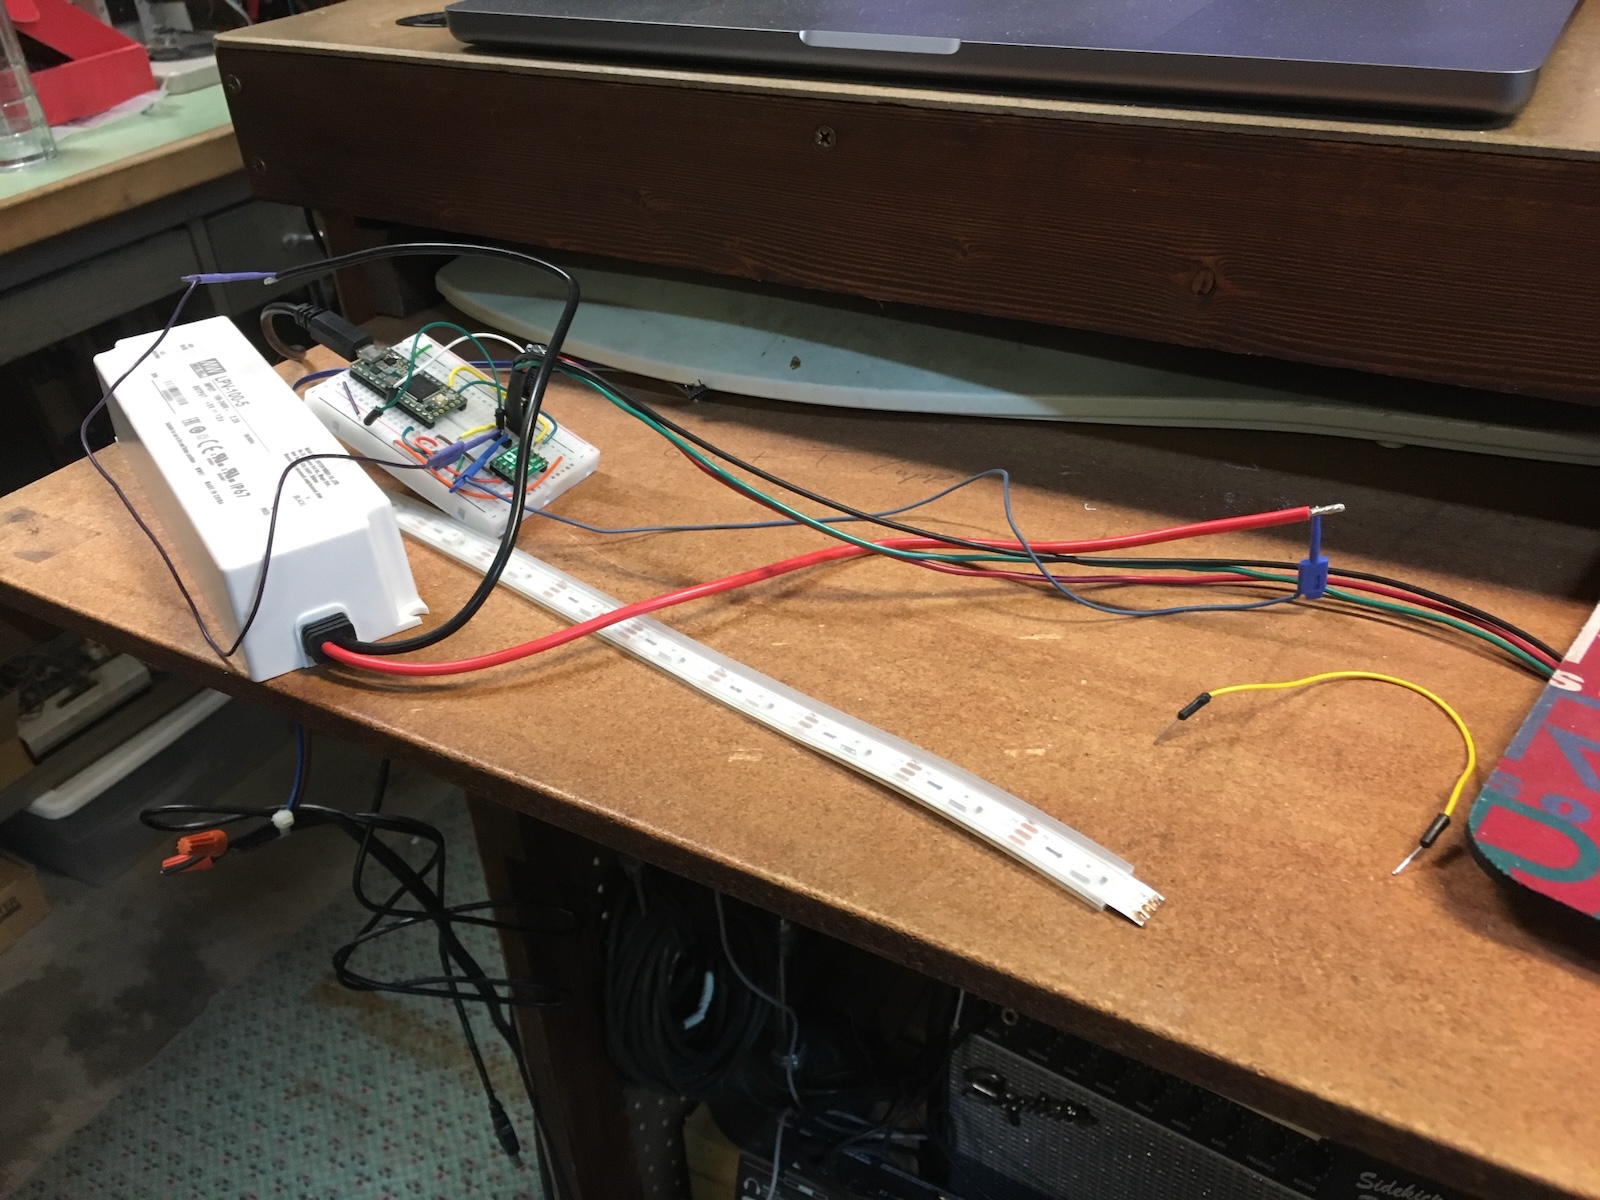
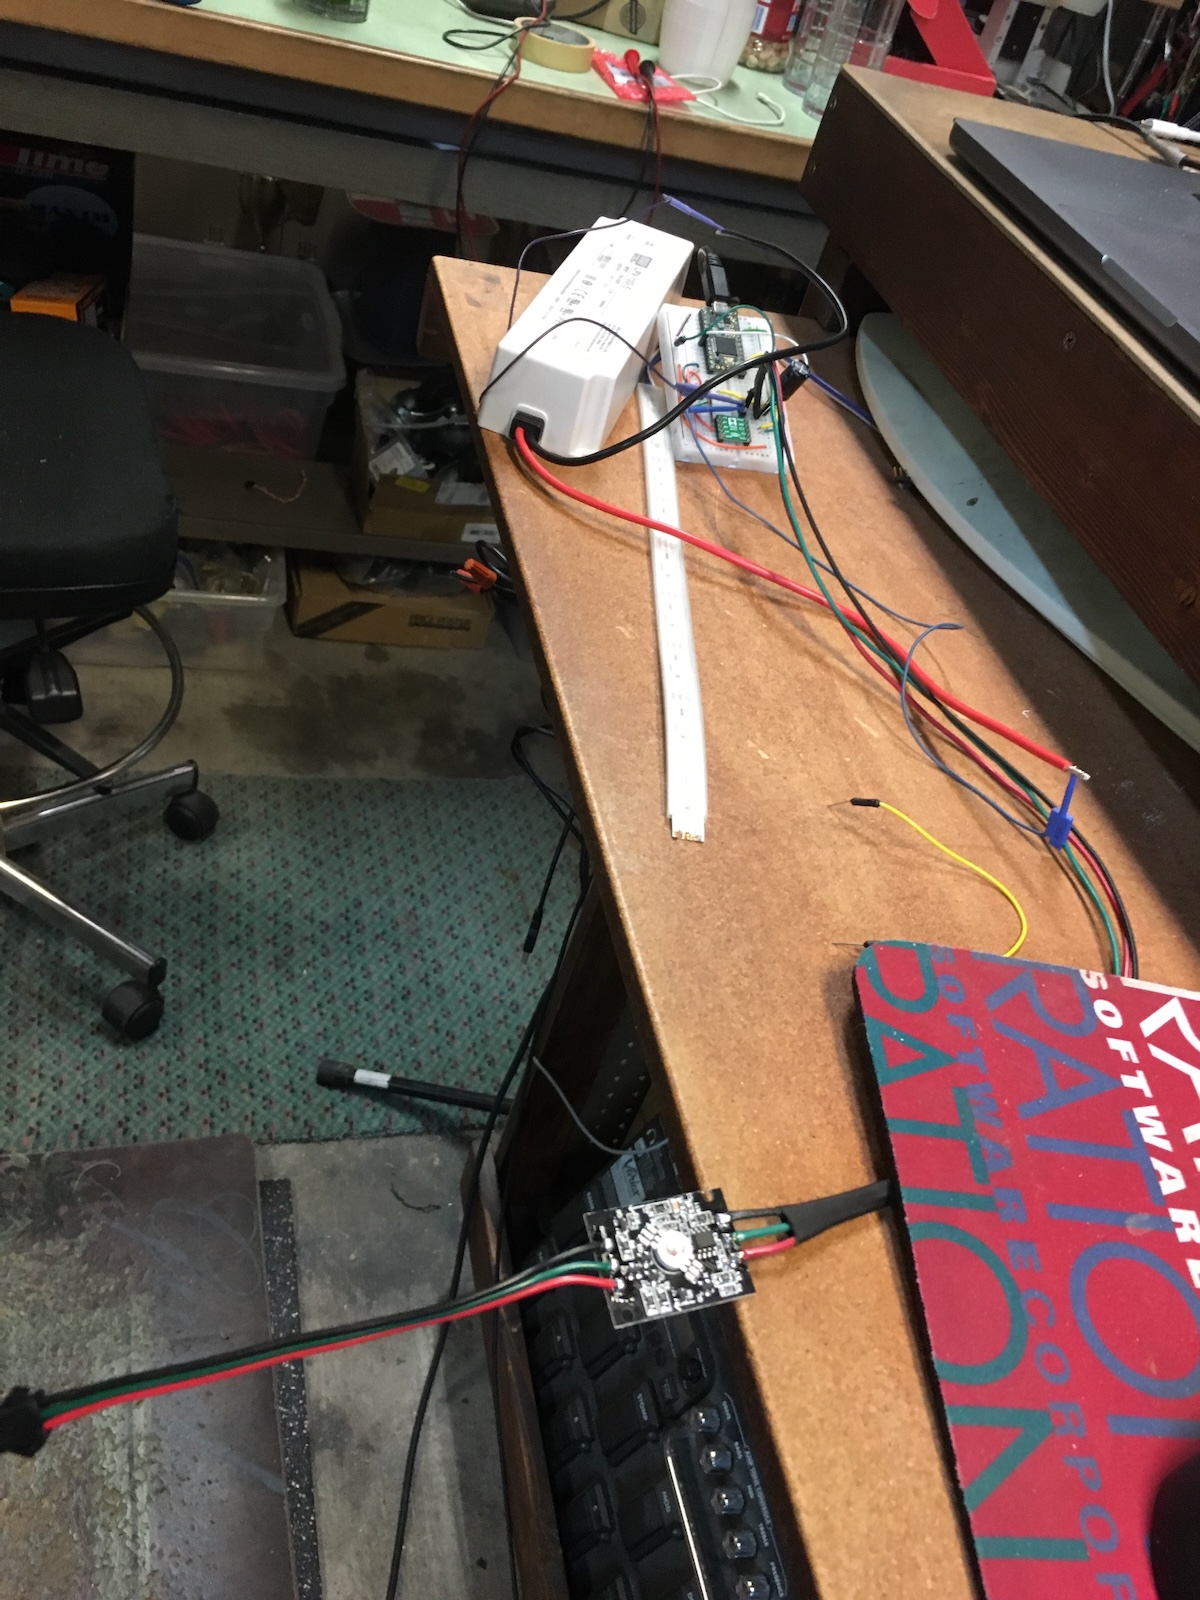
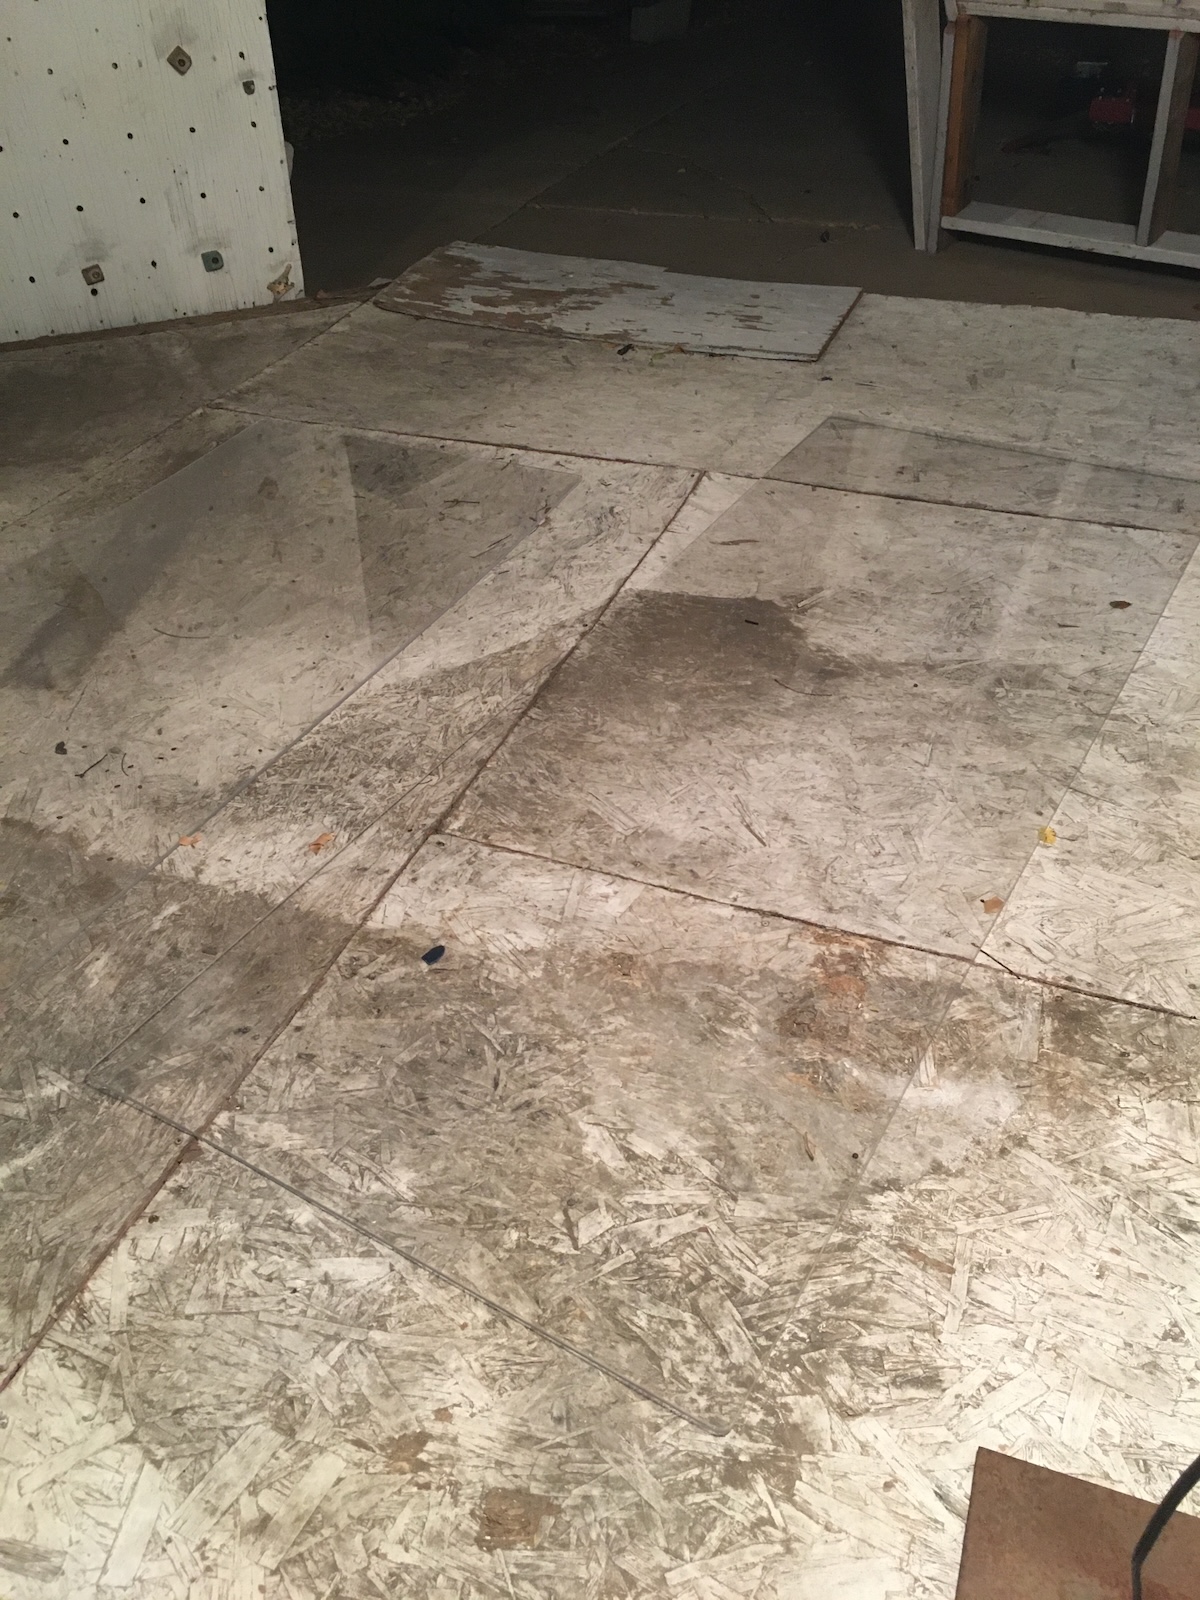
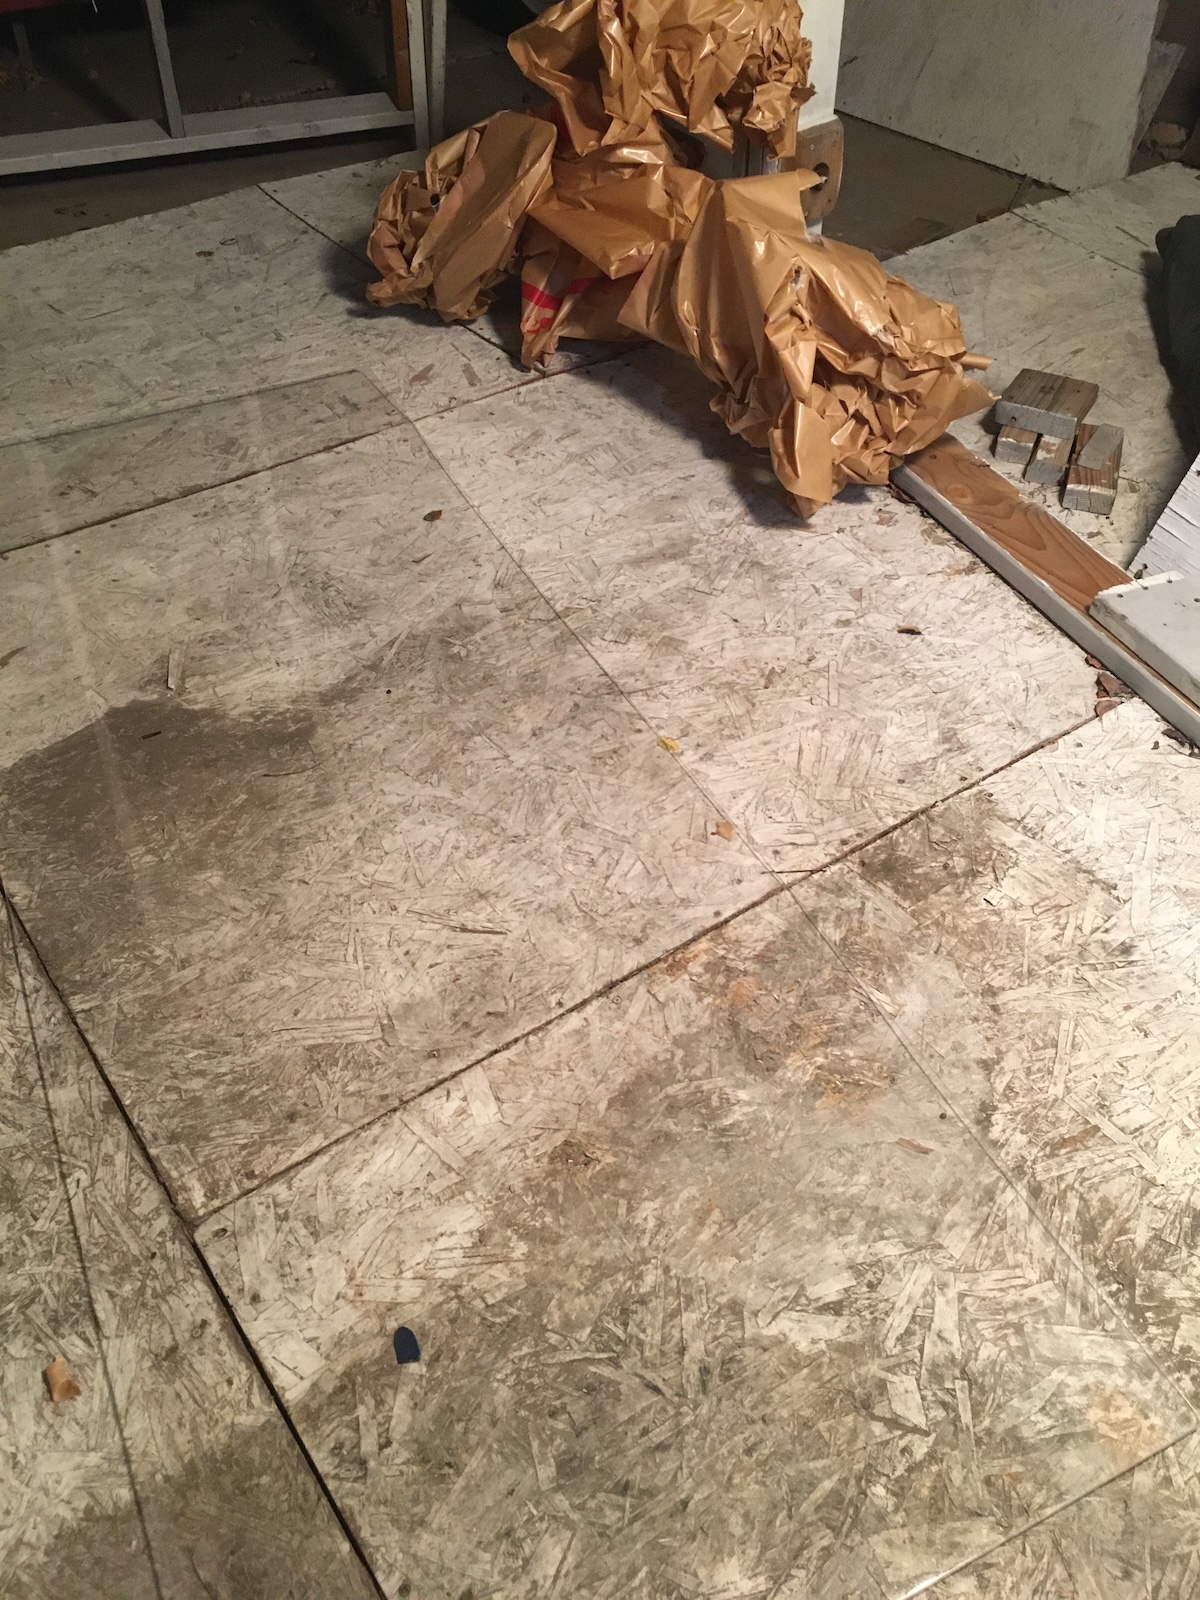
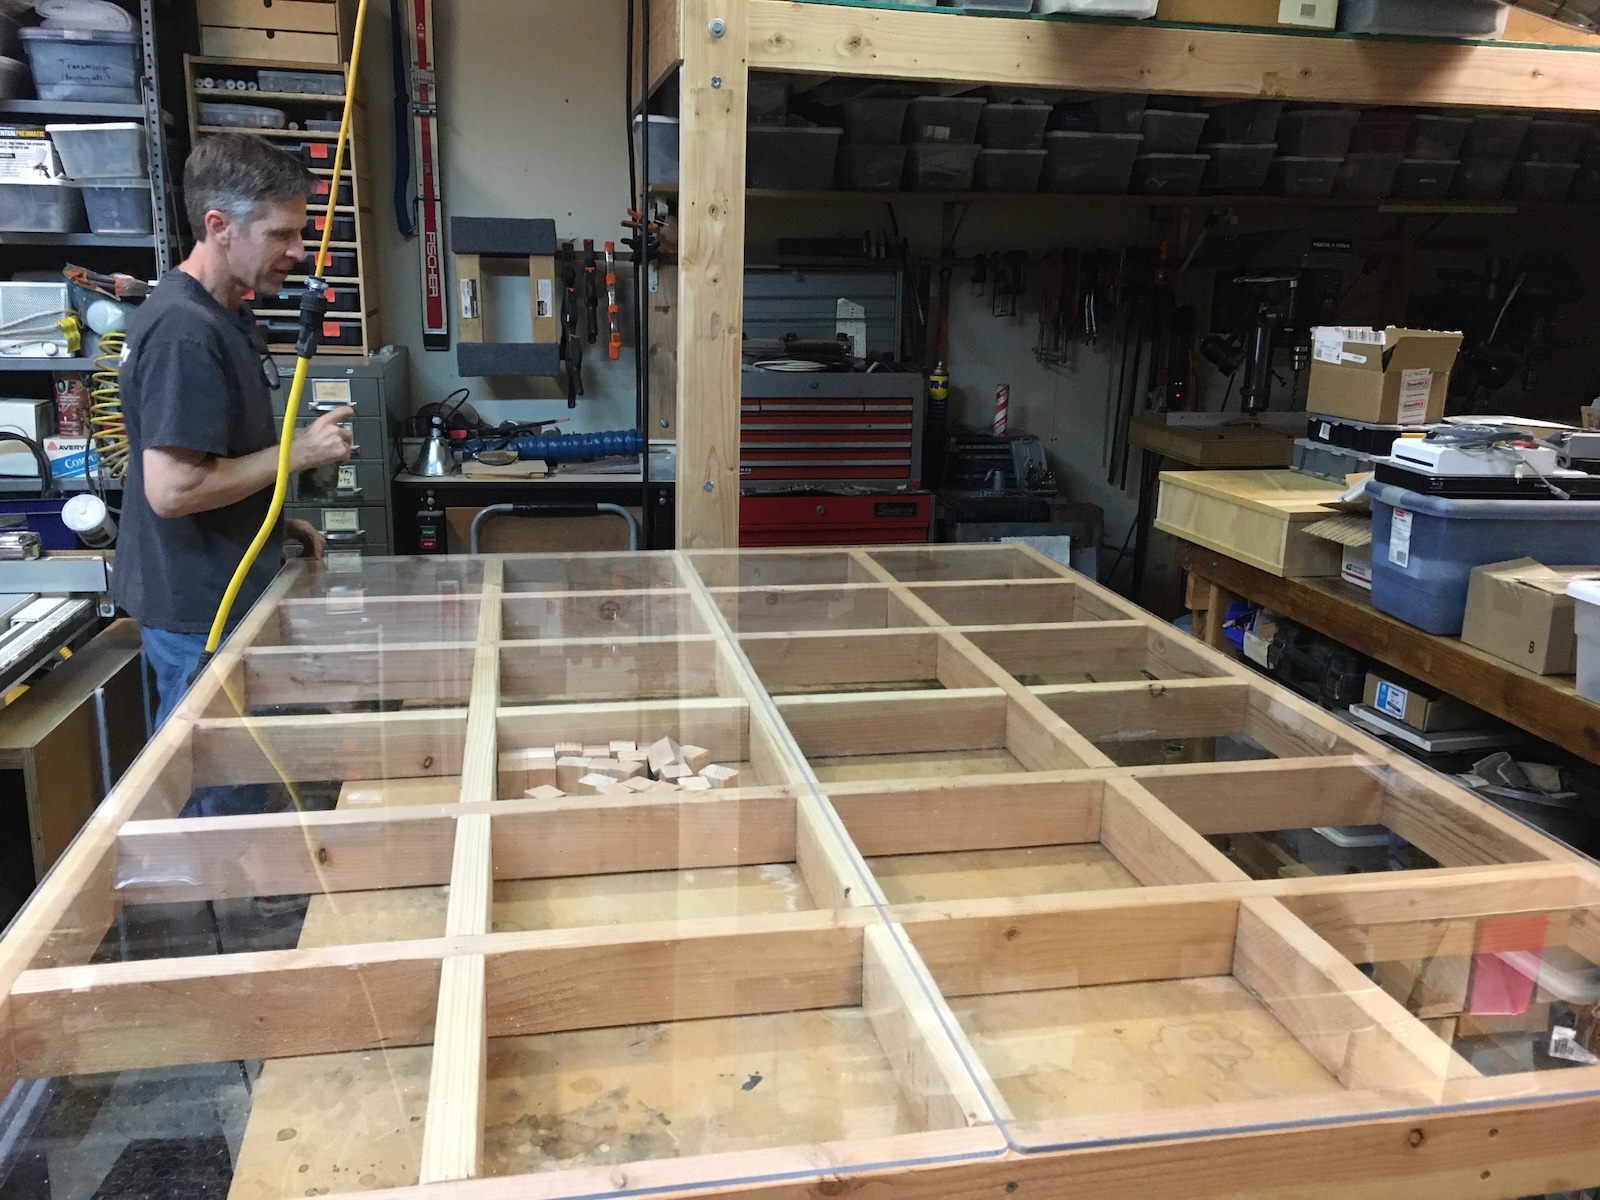
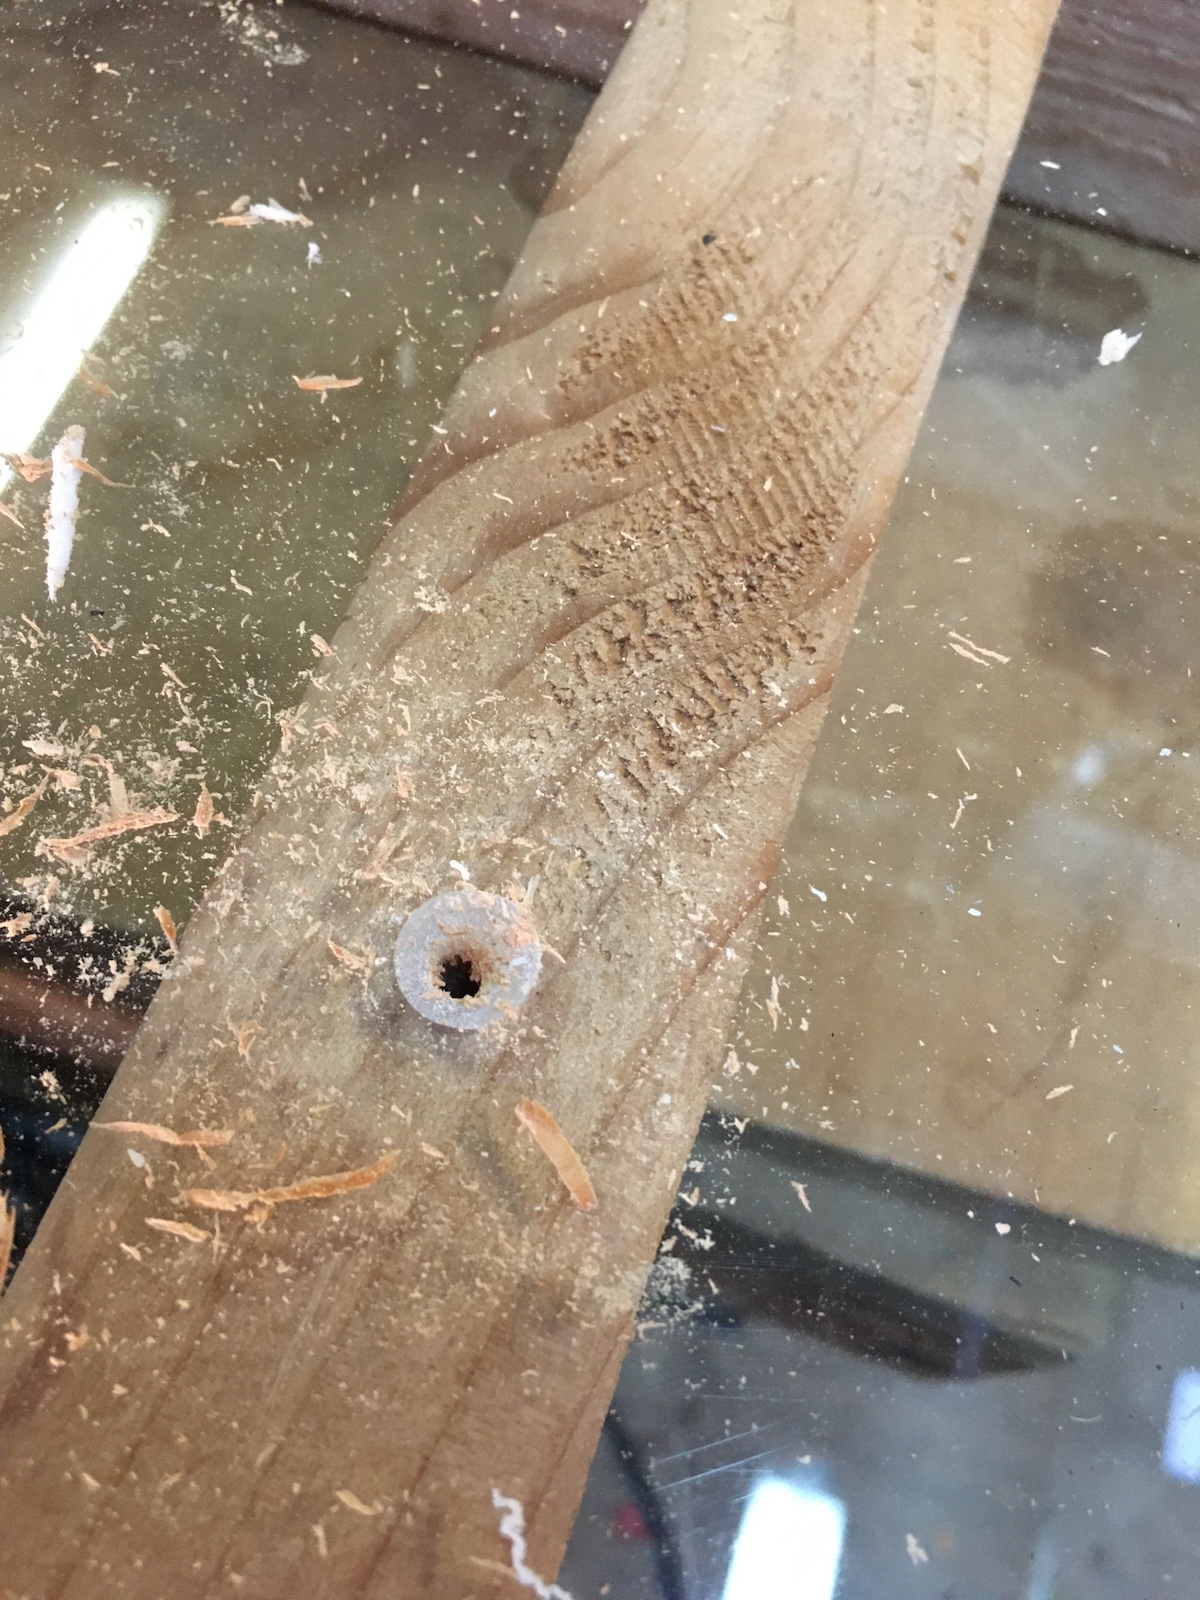
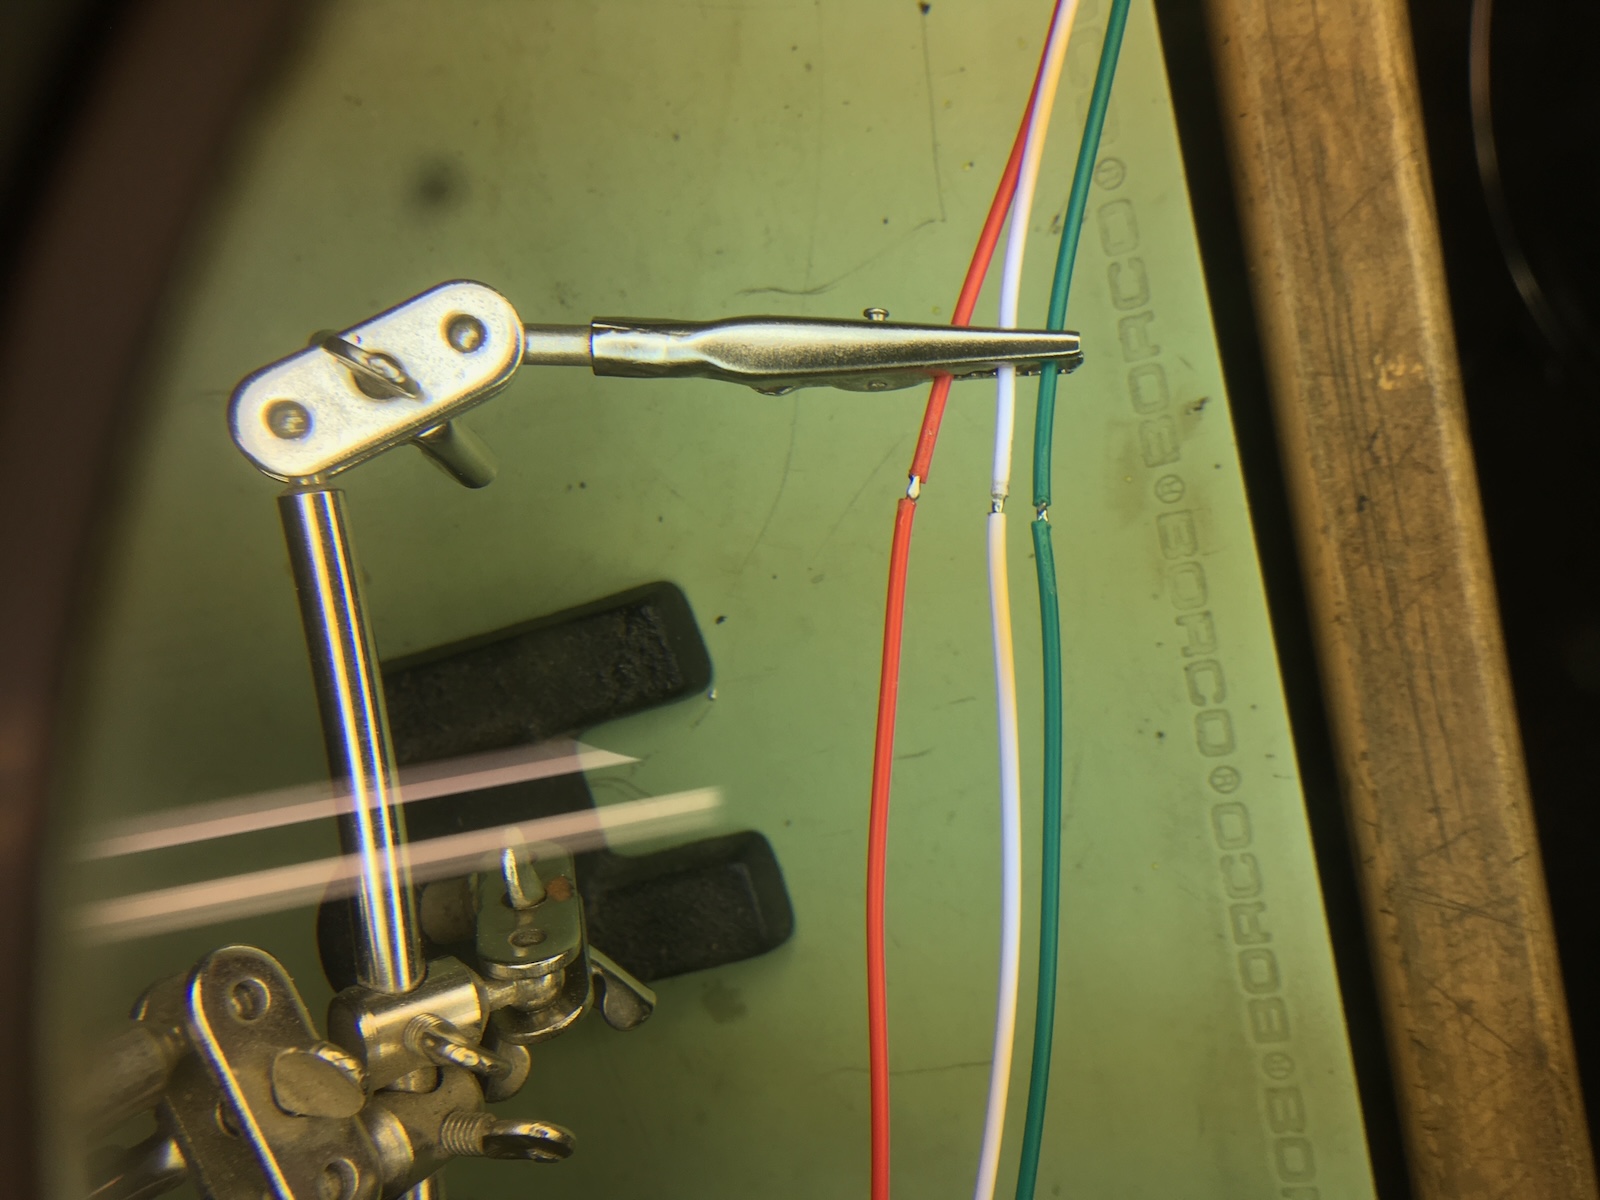
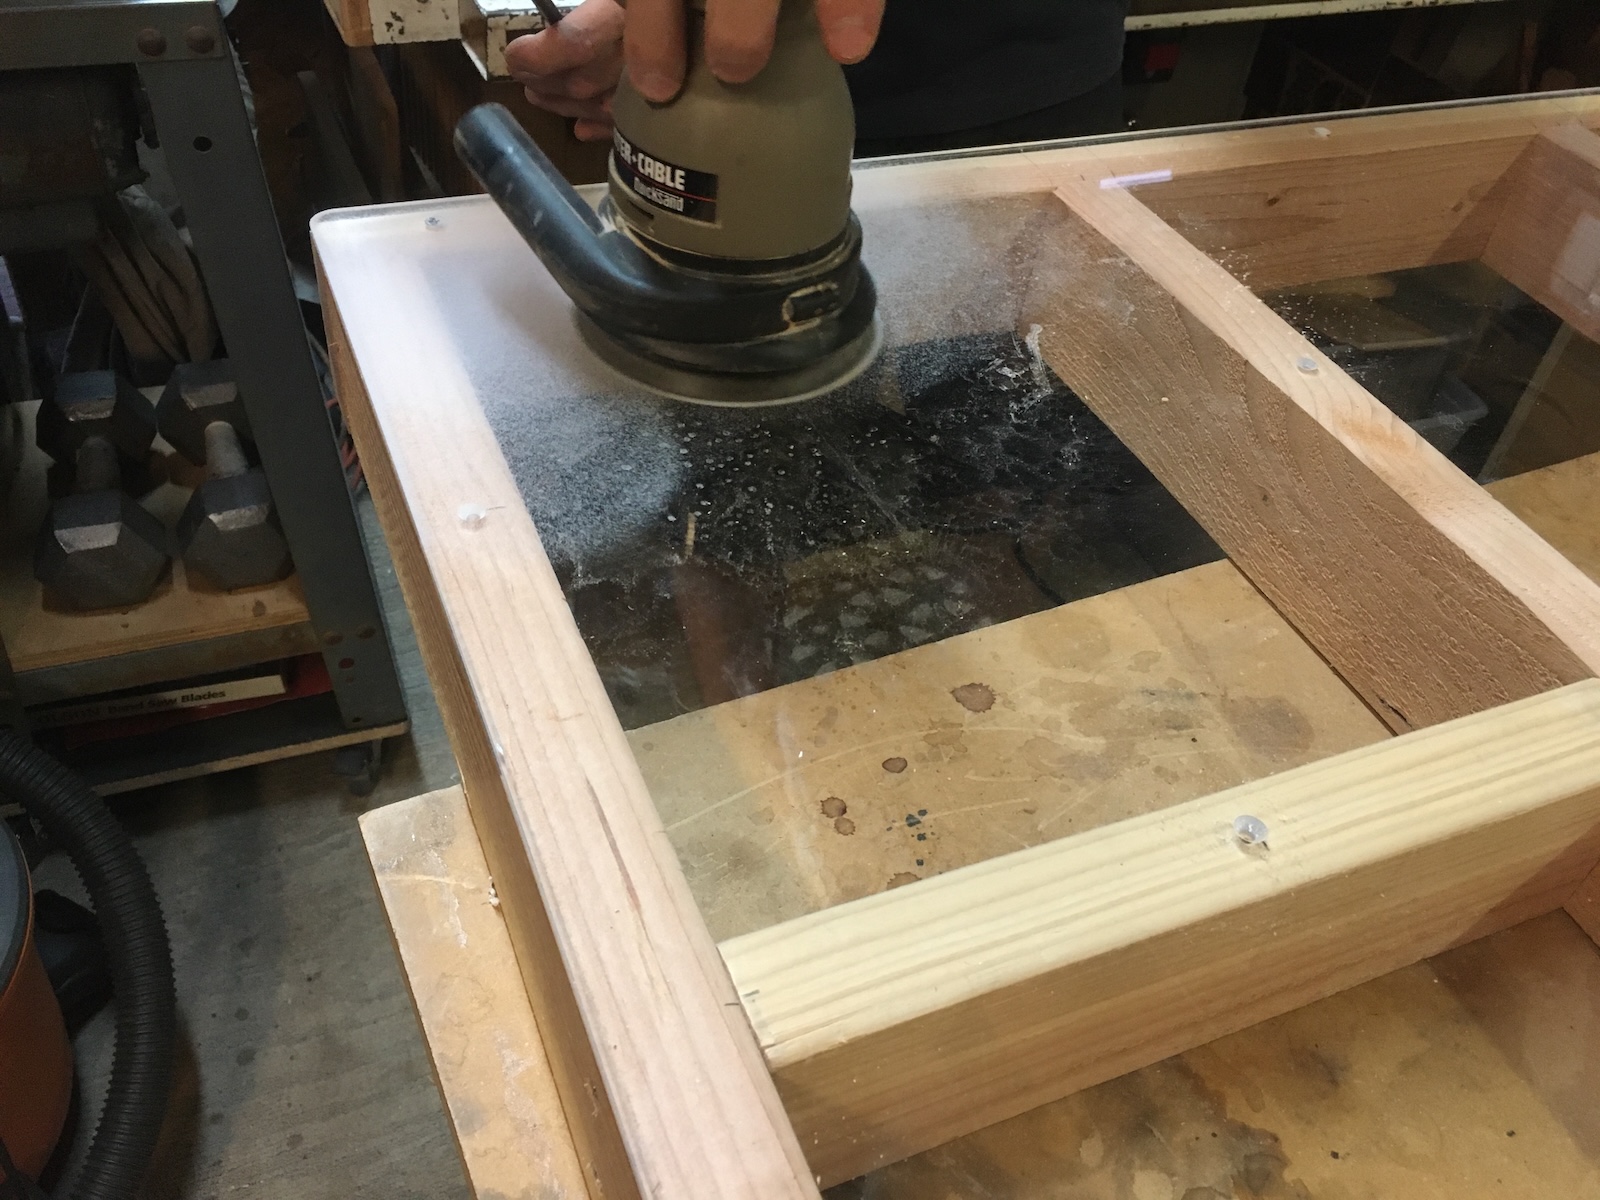
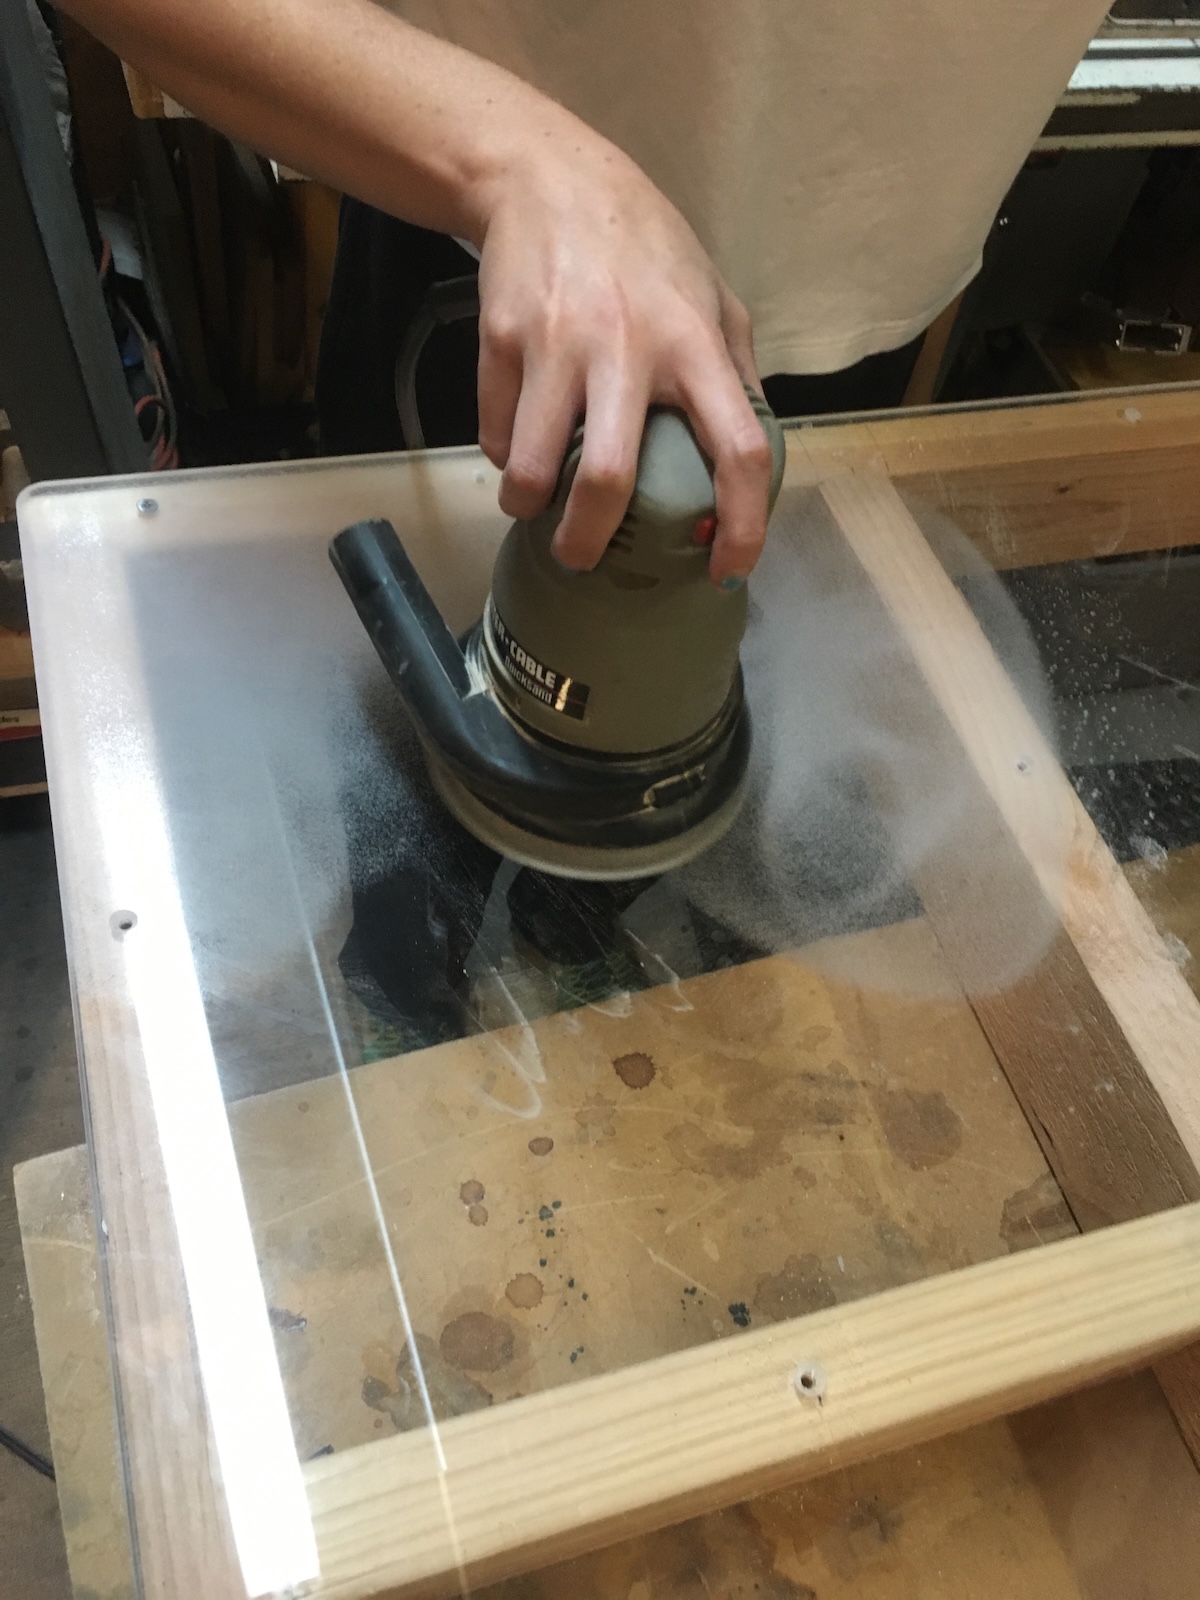
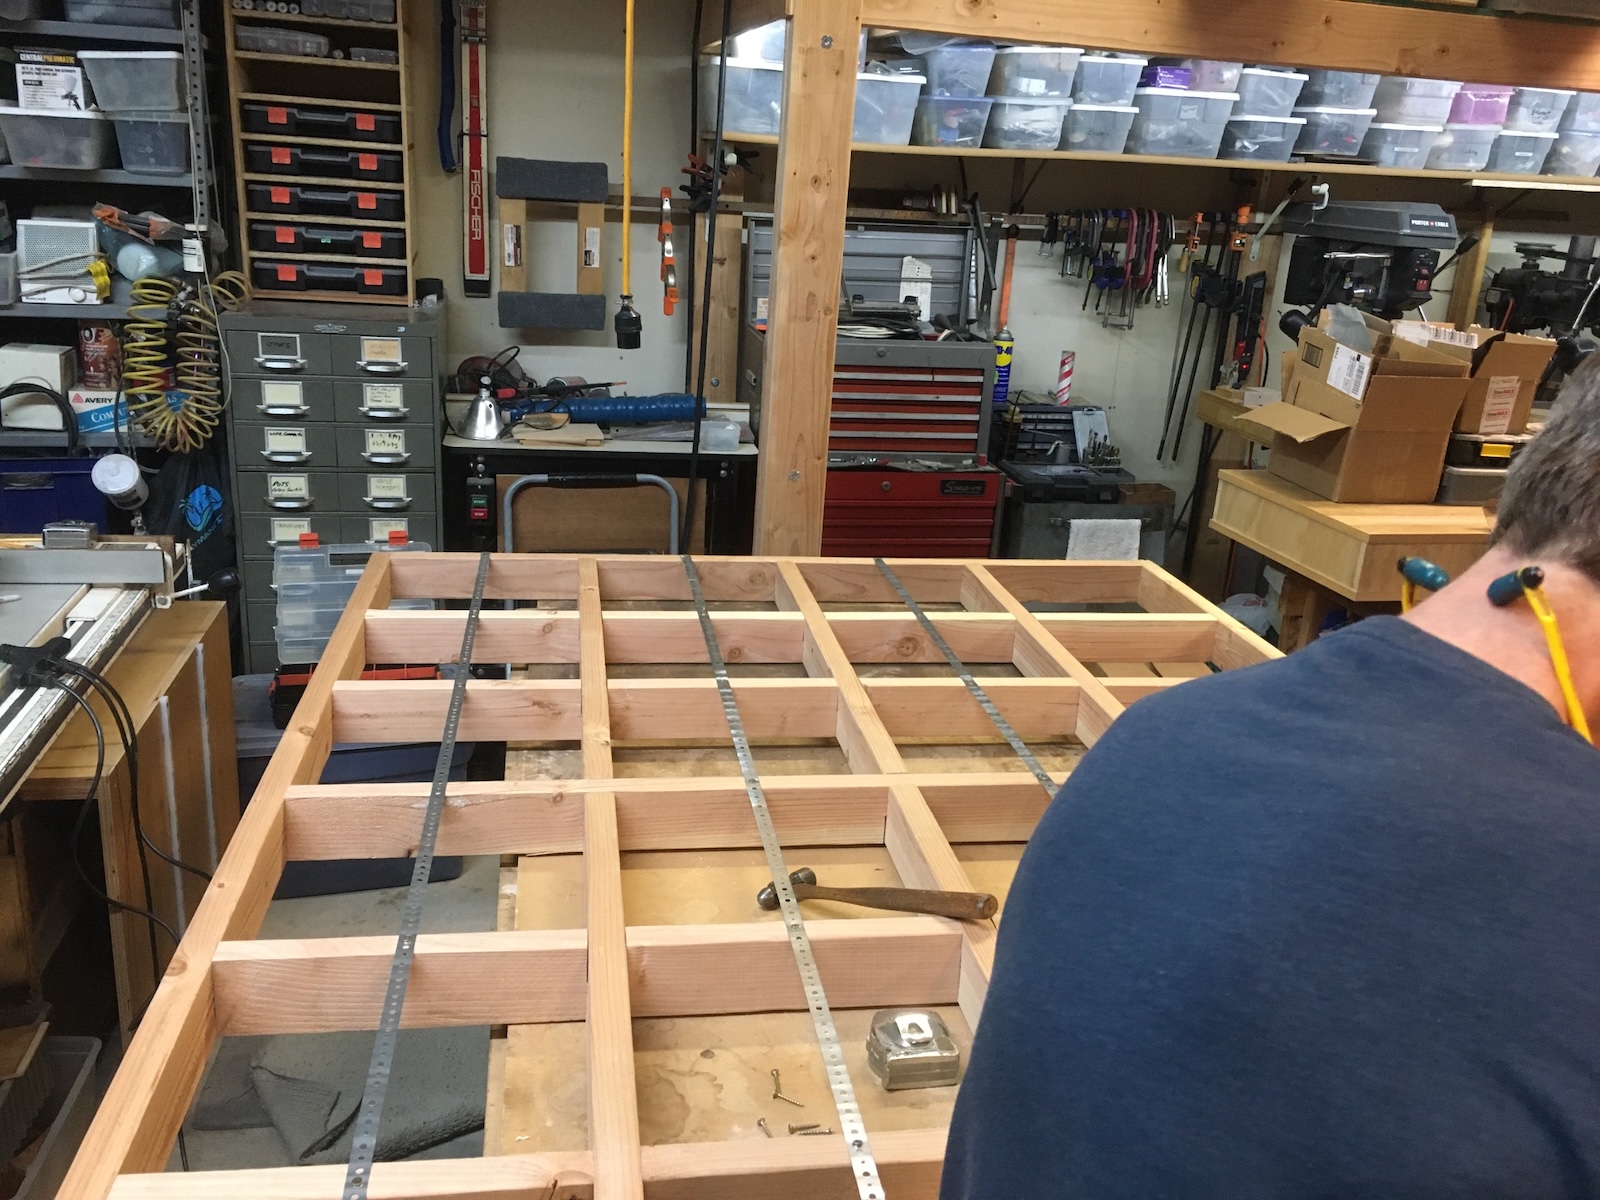
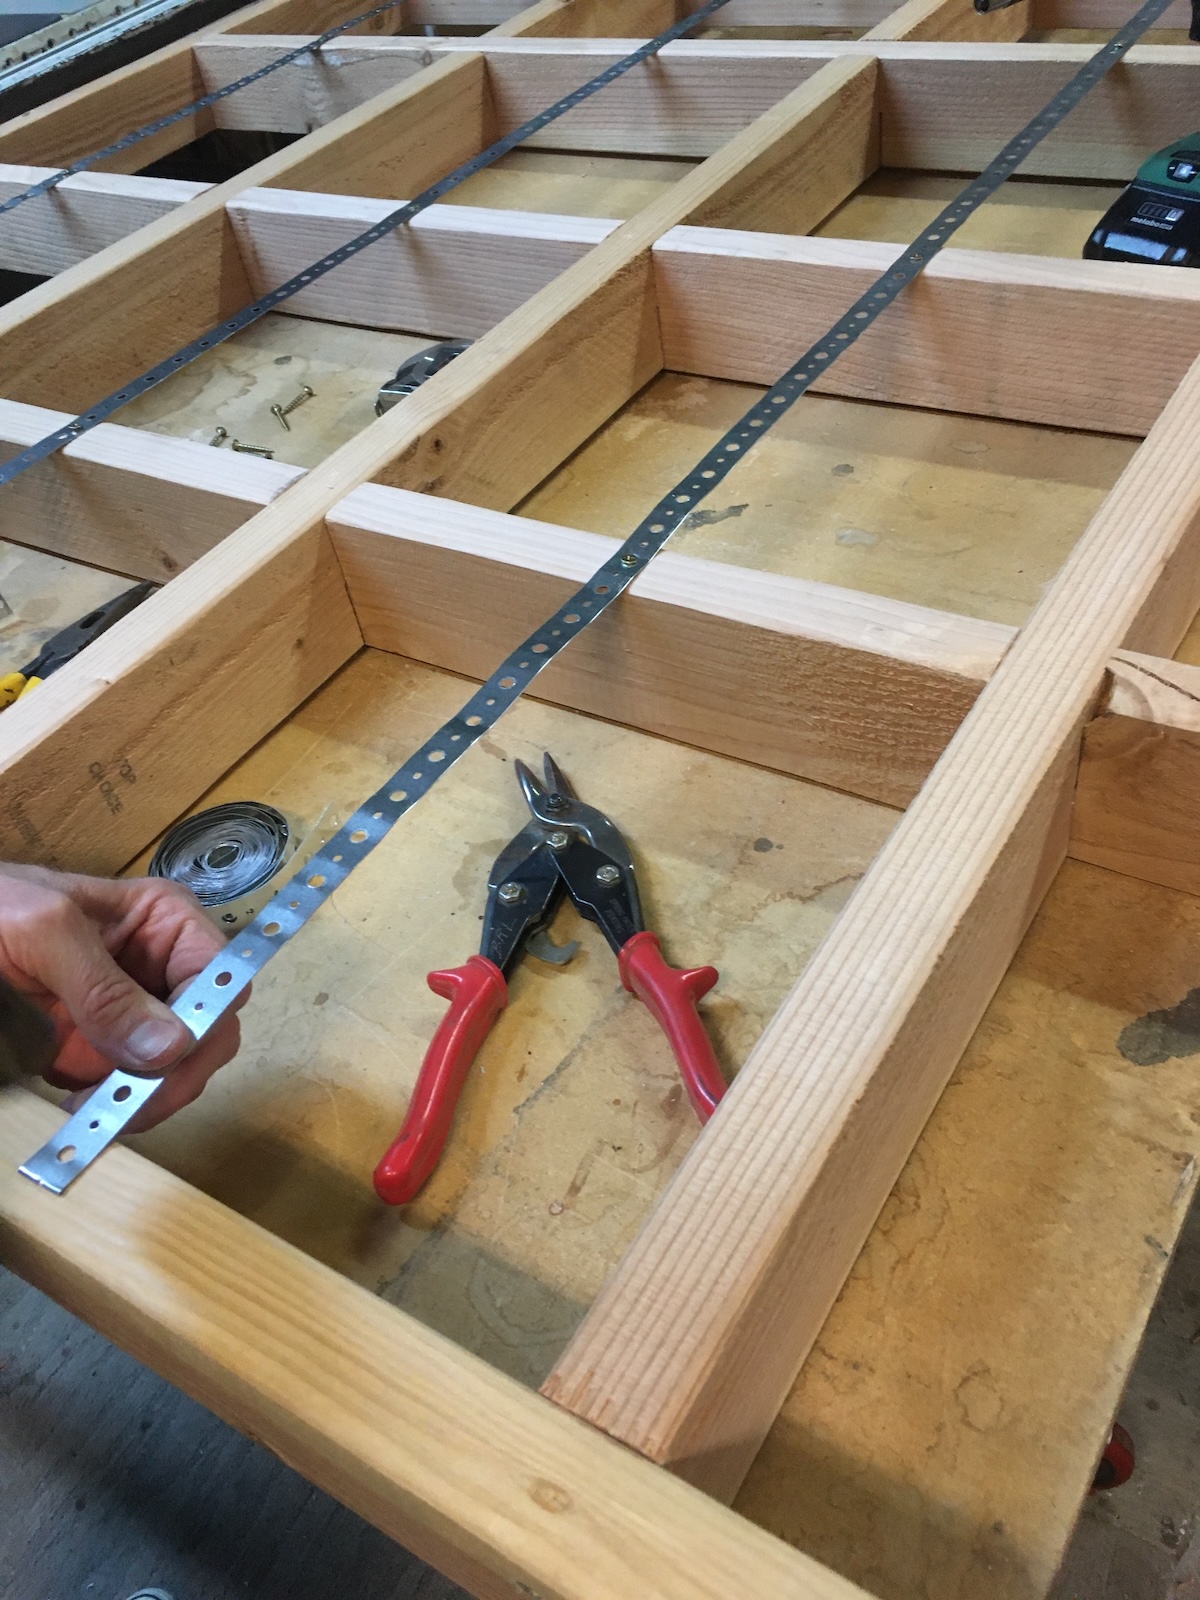
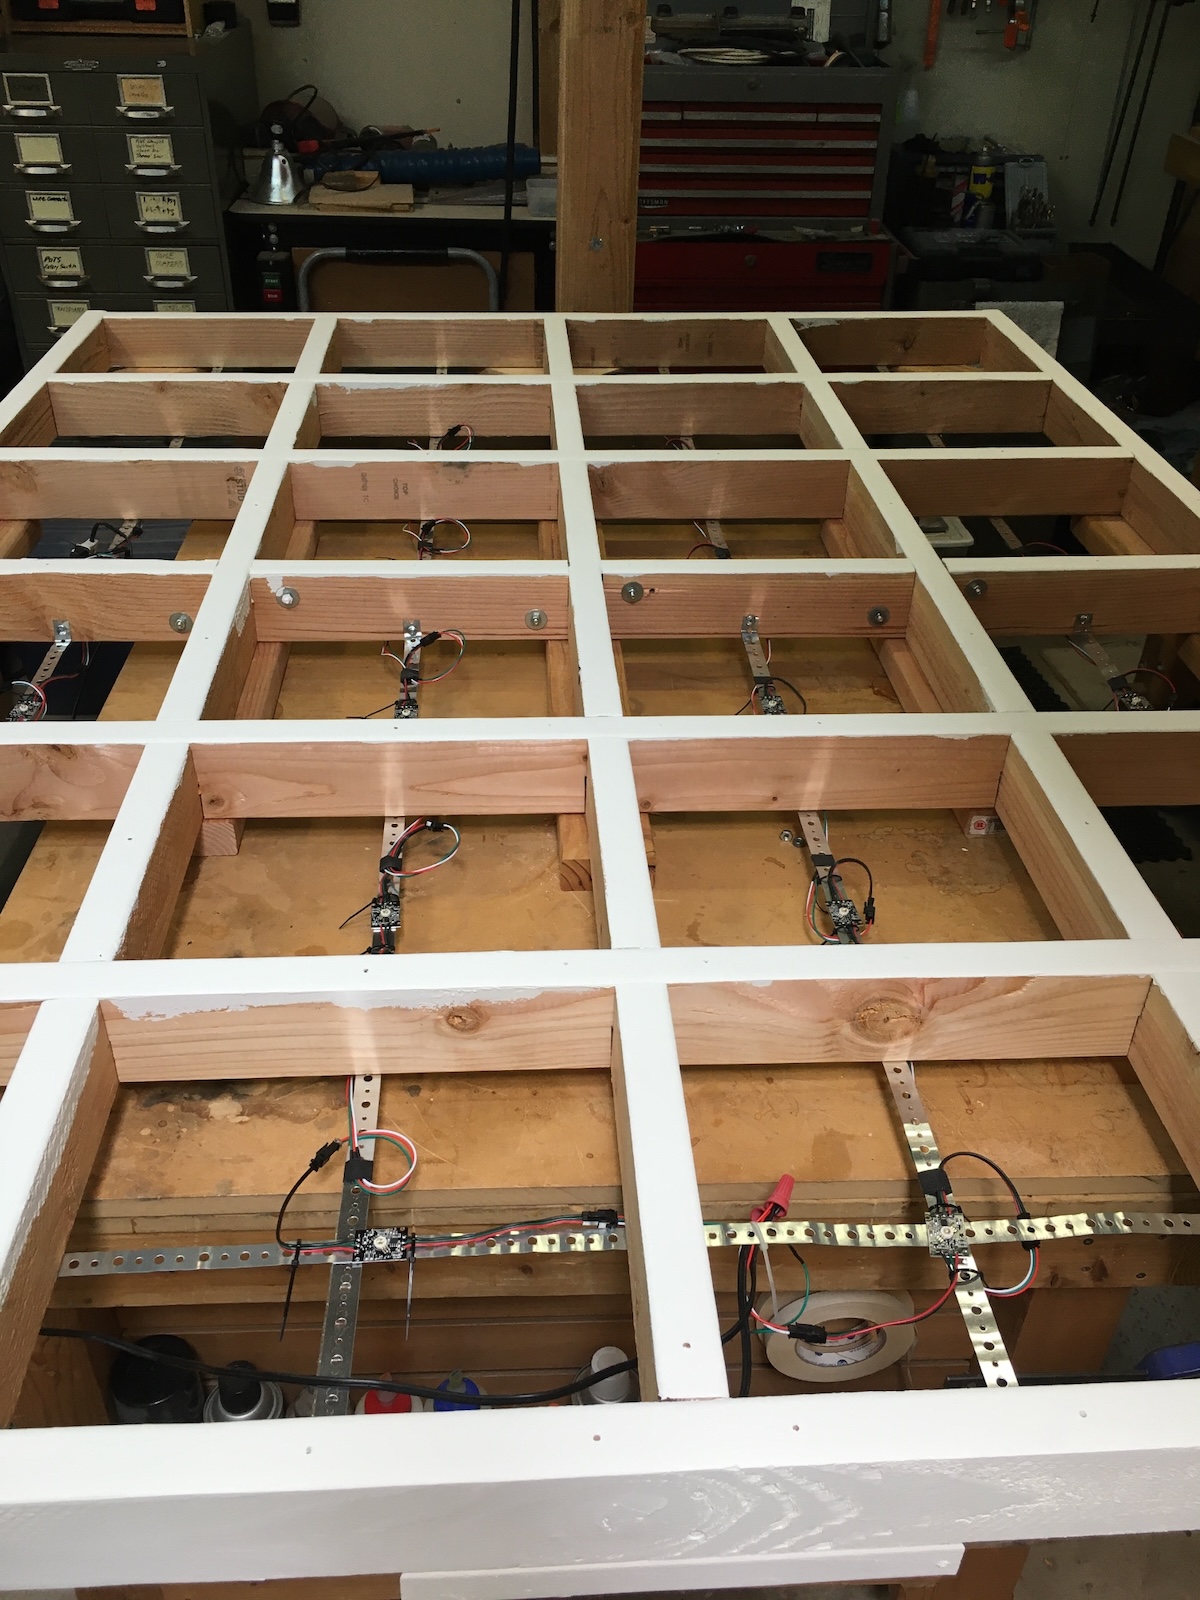
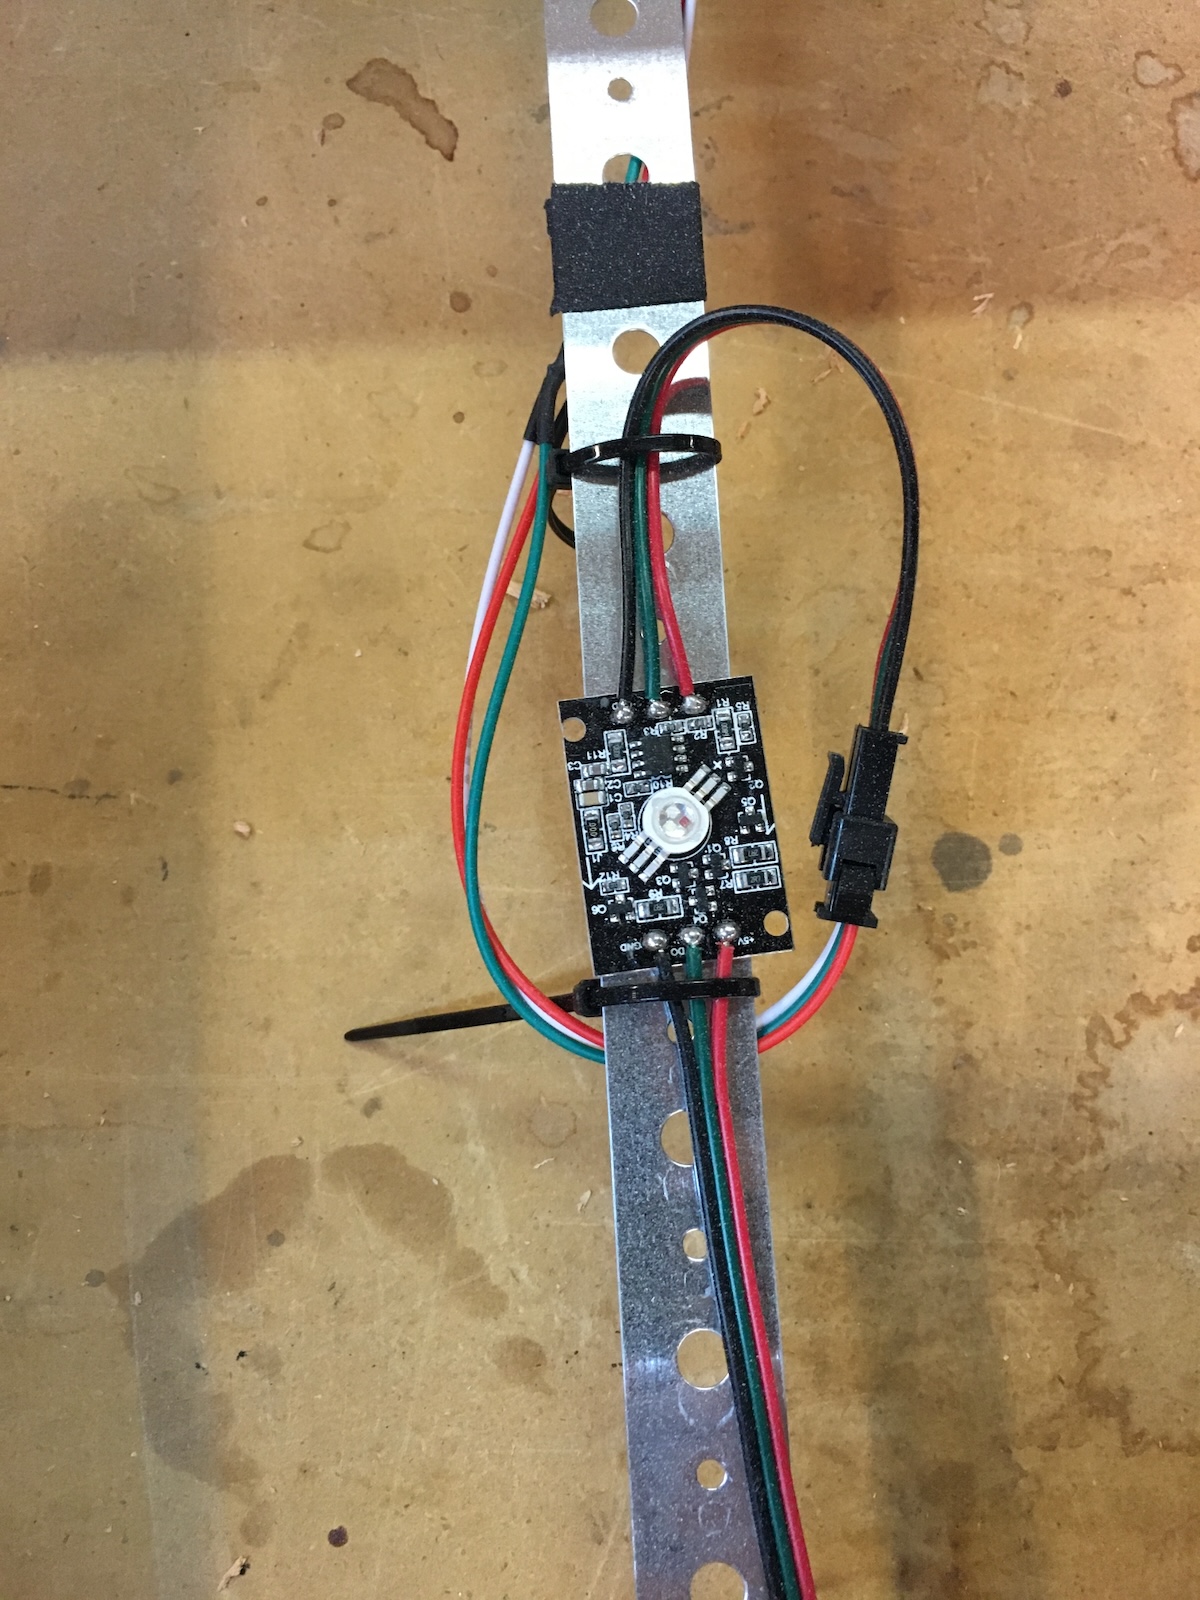
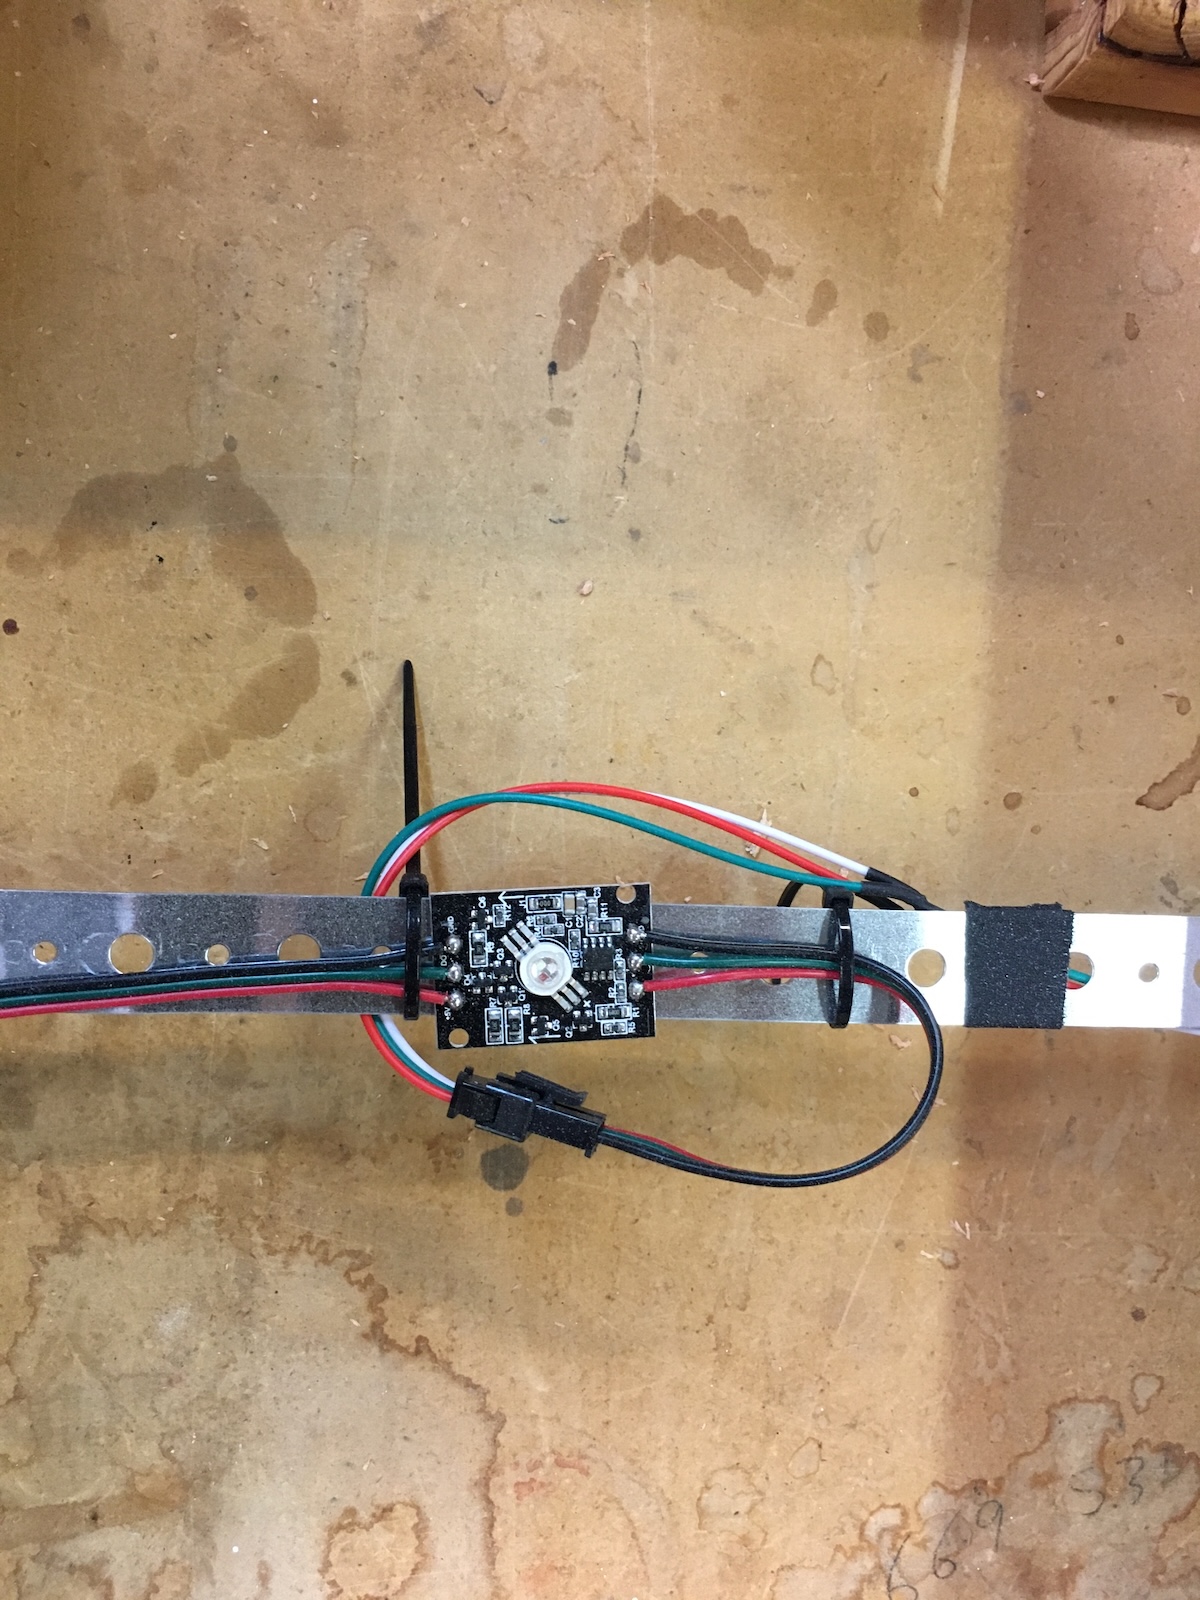
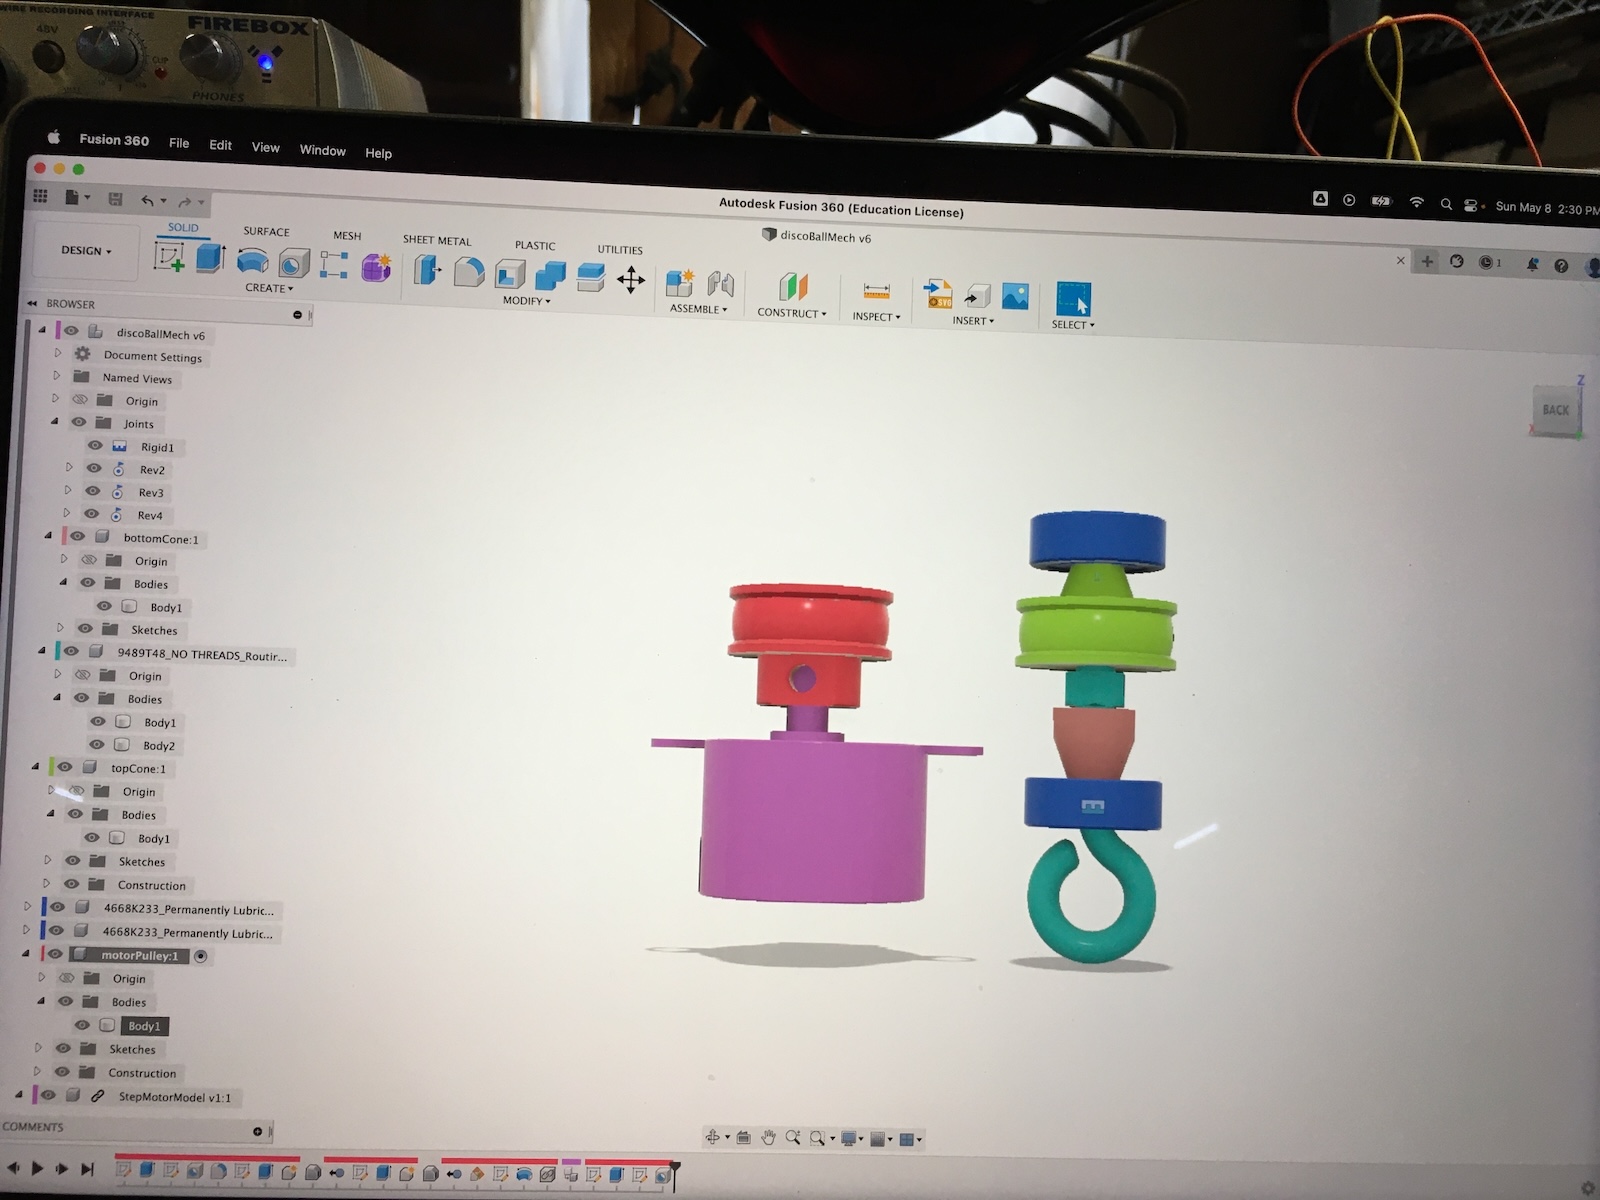
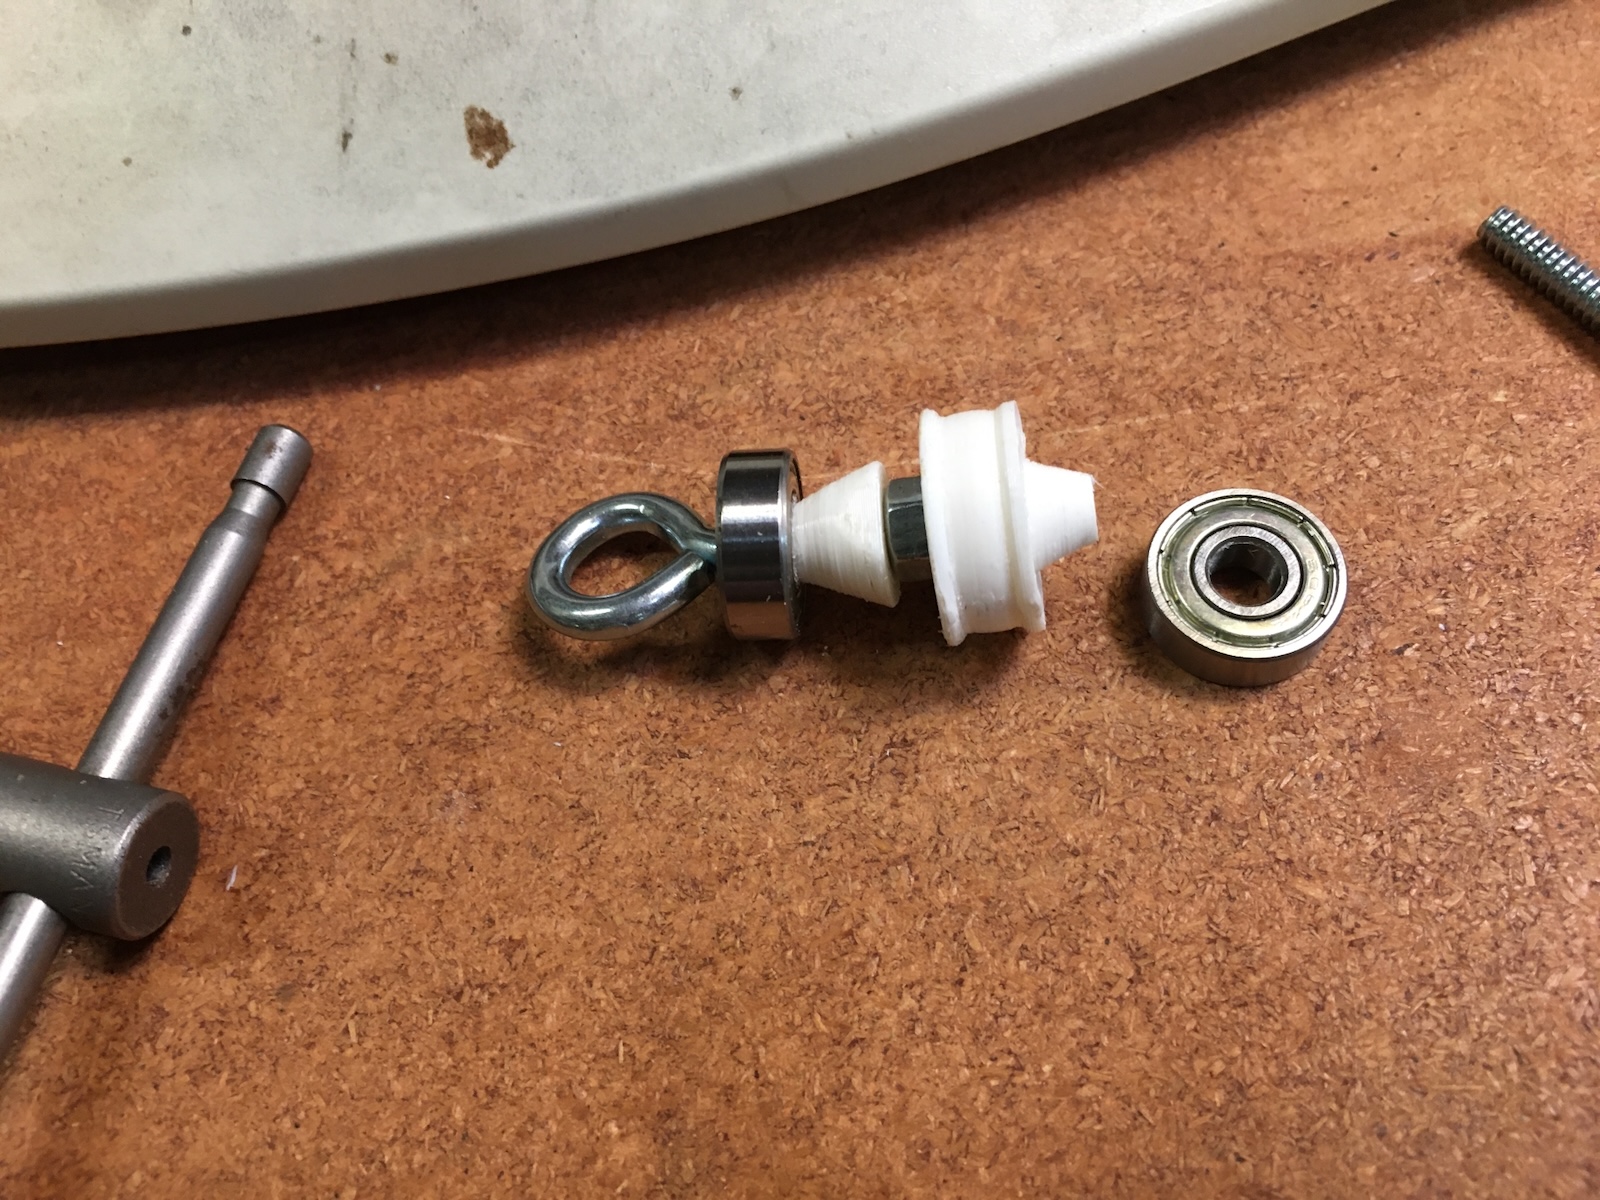
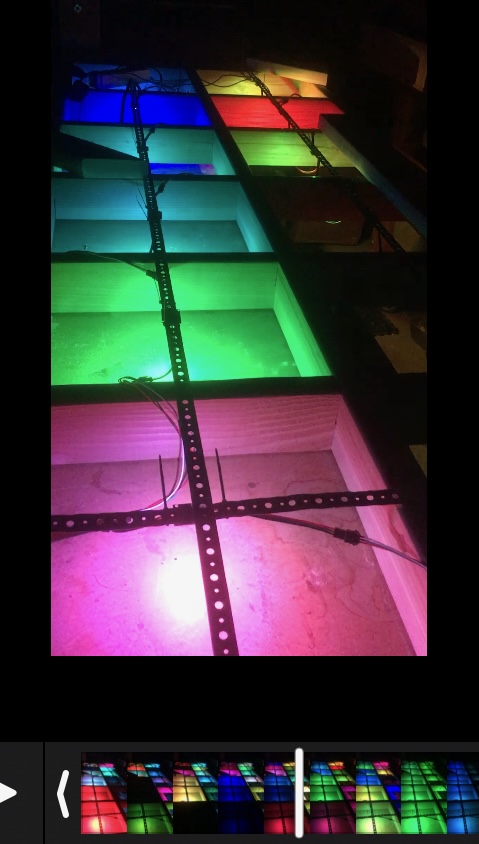
IMG_1530.jpegP1 — Clamping a wood glue-upIMG_1534.jpegP2 — Partially assembled disco floor with some LEDsIMG_1535.jpegP3 — Close-up of acrylic material preparationIMG_1543.jpegP4 — Unwrapping acrylic sheet on workshop floorIMG_1544.jpegP5 — Large acrylic sheet laid flat on workshop floorIMG_1547.jpegP6 — Marking cut lines on large acrylic sheetIMG_1548.jpegP7 — Acrylic sheet prepared and measured for cuttingIMG_1551.jpegP8 — Workshop table setup with acrylic and materialsIMG_1552.jpegP9 — Cut acrylic panels stacked on workshop surfaceIMG_1554.jpegP10 — Acrylic panels in assembly processIMG_1591.jpegP11 — LED soldering work at bench stationIMG_1594.jpegP12 — Detail of LED wiring connectionsIMG_1595.jpegP13 — Person soldering LED connections at workbenchIMG_1596.jpegP14 — Breadboard setup for LED controlIMG_1598.jpegP15 — Close-up of wiring connection detailsIMG_1600.jpegP16 — Attaching acrylic panels to wooden frameIMG_1602.jpegP17 — LED panel being assembled in frameIMG_1604.jpegP18 — Components and wiring detailsIMG_1606.jpegP19 — Detail of panel construction progressIMG_1609.jpegP20 — Sanding acrylic to create frosted finishIMG_1610.jpegP21 — LED mounting and hardware setupIMG_1611.jpegP22 — Grid panel construction in progressIMG_1681.jpegP23 — Disco floor grid with LEDs mountedIMG_1682.jpegP24 — Grid panels being assembled togetherIMG_1683.jpegP25 — Panels being installed in frameIMG_1684.jpegP26 — Overview of grid assembly progressIMG_1685.jpegP27 — Wiring installation in frame assemblyIMG_1686.jpegP28 — Detail of completed frame assemblyIMG_1687.jpegP29 — Final assembly of grid systemIMG_1929.jpegP30 — Finished panel assembly ready for testingIMG_1932.jpegP31 — LED testing configuration and setupIMG_1936.jpegP32 — Testing color patterns on LED displayIMG_1939.jpegP33 — Testing brightness levels of LEDsIMG_1940.jpegP34 — Control software interface for LEDsIMG_1947.jpegP35 — Night testing environment for LEDsIMG_1951.jpegP36 — Animation sequence display testingIMG_1952.jpegP37 — Color gradient test pattern displayIMG_1953.jpegP38 — Full grid illumination during testingIMG_1955.jpegP39 — Synchronized color display testIMG_1956.jpegP40 — Brightness adjustment testingIMG_1957.jpegP41 — Color mixing effects demonstrationIMG_1958.jpegP42 — Display running pattern sequenceIMG_1959.jpegP43 — Grid performance during testingIMG_1961.jpegP44 — LED response time testingIMG_1962.jpegP45 — System stability during operationIMG_1972.jpegP46 — Final display verification and testingIMG_9465.jpegP47 — Acrylic panels with metal strapping detailIMG_1597.jpegP48 — Prepping wires for LED connectionsIMG_1598 (1).jpegP49 — Alternate angle of wiring connection detailsIMG_1680.jpegP50 — Disco floor grid preparation phase


.jpeg)